

Table of Contents
Picture this: you’ve just invested in a beautiful espresso machine and premium beans, but your shots taste sour, bitter, or just… off. The culprit? Your grind size. I’ve been there—spending countless mornings frustrated with inconsistent espresso until I learned that grind size is the secret weapon every home barista needs to master.
Getting your espresso grind size right isn’t just about following a chart (though we’ll give you one!). It’s about understanding how those tiny coffee particles interact with water, pressure, and time to create that perfect shot with rich crema and balanced flavor. Whether you’re pulling your first shot or you’re a seasoned home barista looking to fine-tune your technique, this comprehensive guide will help you dial in café-quality espresso at home.
Key Takeaways
- Grind size directly impacts extraction time and flavor – too fine leads to over-extraction and bitterness, too coarse results in under-extraction and sourness
- The ideal espresso grind resembles fine sea salt or powdered sugar – it should clump slightly when pressed but still flow freely
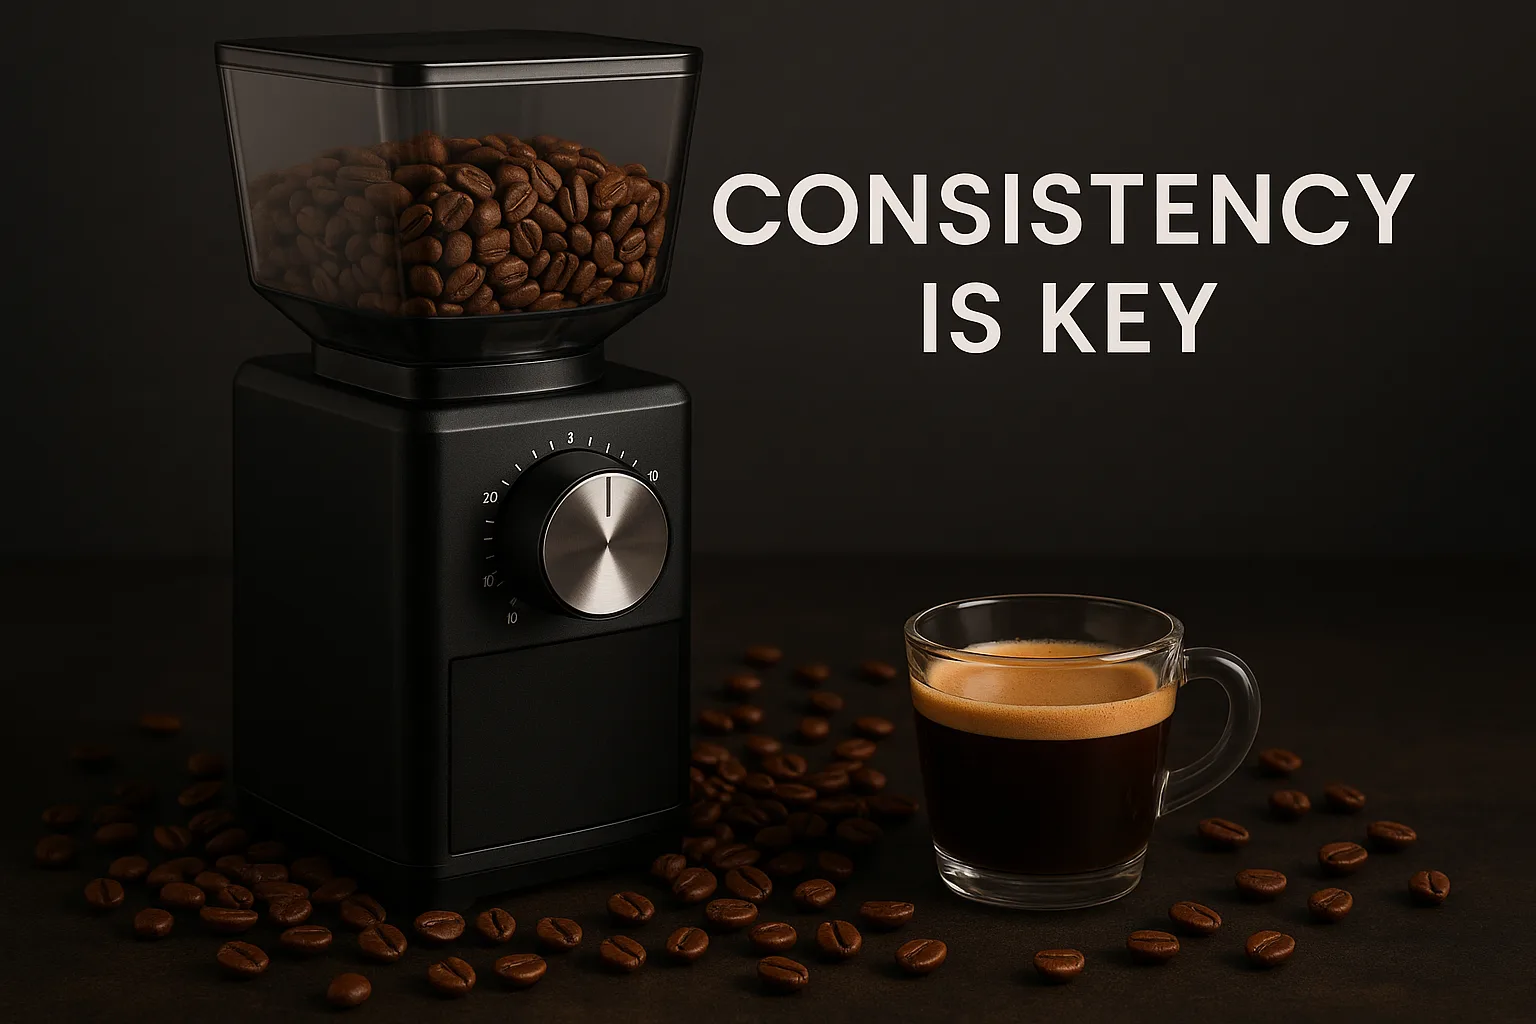
- Burr grinders provide the consistency needed for espresso – blade grinders create uneven particles that lead to inconsistent extraction
- Start with a baseline and adjust in small increments – make tiny changes and taste the difference before adjusting further
- Environmental factors like humidity affect grind size – you may need to adjust your grind throughout the day for optimal results
Understanding Espresso Grind Size Chart Fundamentals
What Makes Espresso Grind Different?
Espresso requires a much finer grind than other brewing methods because of the unique extraction process. When you pull a shot, hot water is forced through tightly packed coffee grounds at about 9 bars of pressure in just 25-30 seconds. This intense, quick extraction demands a specific particle size to achieve the perfect balance.
Think of it like this: if your grind is too coarse, water rushes through too quickly, leaving behind all those delicious oils and compounds that make espresso special. Too fine, and water struggles to pass through, over-extracting bitter compounds that’ll make you pucker.
The Science Behind Particle Size
Every coffee particle has surface area that water can interact with. Finer grinds have more surface area exposed, which means faster extraction. But here’s where it gets interesting—consistency matters more than just size. A quality burr grinder creates uniform particles that extract evenly, while blade grinders produce a mix of powder and chunks that extract at different rates.
I learned this the hard way when I first started. My blade grinder was creating what baristas call “fines and boulders”—tiny powder mixed with larger chunks. The result? Shots that were simultaneously over-extracted and under-extracted. Not exactly the café-quality experience I was after!
The Complete Espresso Grind Size Chart
Here’s your go-to espresso grind size chart for different scenarios:
| Grind Level | Particle Size | Extraction Time | Taste Profile | When to Use |
|---|---|---|---|---|
| Too Fine | Powdered sugar/flour | 35+ seconds | Bitter, over-extracted | Never ideal |
| Fine | Fine sea salt | 25-30 seconds | Balanced, sweet | Standard espresso |
| Medium-Fine | Table salt | 20-25 seconds | Bright, acidic | Light roasts, adjustments |
| Too Coarse | Coarse sea salt | Under 20 seconds | Sour, under-extracted | Never ideal |
Texture Comparisons You Can Feel
When I’m training new home baristas, I always tell them to feel the grind between their fingers. Here’s what to look for:
- Perfect espresso grind: Feels like fine sea salt or powdered sugar. It should clump slightly when pressed but break apart easily
- Too fine: Feels like flour and clumps together when squeezed
- Too coarse: Feels gritty like coarse salt and doesn’t clump at all
How Grind Size Affects Your Espresso
The espresso grind size you choose directly controls how fast water flows through your coffee puck. I’ve found that most home baristas aim for a 25-30 second extraction time for a double shot, but this can vary based on your beans and preferences.
Here’s what I’ve observed in my years of pulling shots:
- Fast shots (under 20 seconds): Usually indicate grind is too coarse
- Slow shots (over 35 seconds): Typically mean grind is too fine
- Sweet spot (25-30 seconds): Generally produces the most balanced flavors
Flavor Impact
Grind size doesn’t just affect timing—it’s the primary driver of flavor in your cup. When I dial in a new bag of espresso beans, I’m essentially using grind size to control which flavors I extract:
Under-extraction (grind too coarse):
- Sour, acidic taste
- Thin body
- Lack of sweetness
- Weak crema
Over-extraction (grind too fine):
- Bitter, harsh flavors
- Astringent mouthfeel
- Overpowering intensity
- Dark, thick crema that dissipates quickly
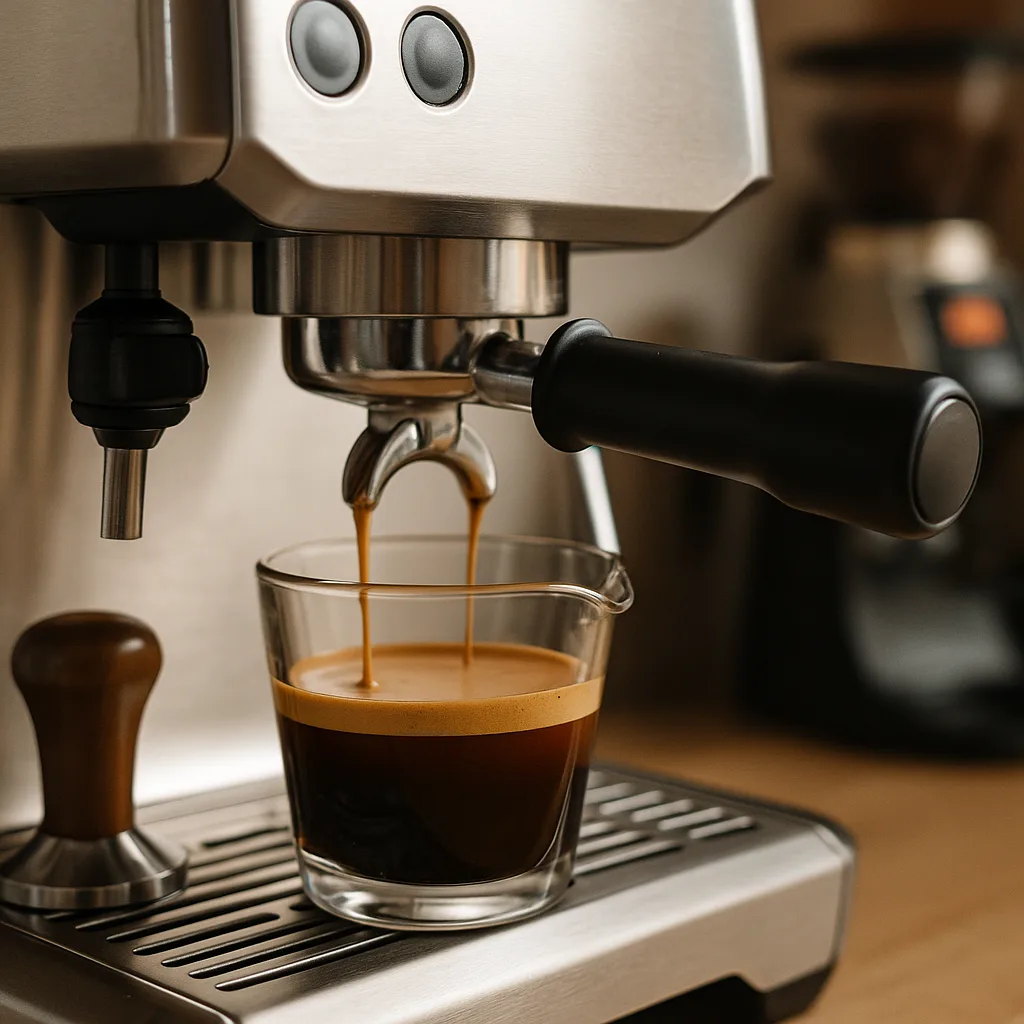
Balanced extraction (just right):
- Sweet, complex flavors
- Full body with bright acidity
- Rich, golden crema that lasts
- Clean finish
Choosing the Right Grinder for Espresso
Why Burr Grinders Are Essential
After years of experimenting with different grinders, I can’t stress enough how crucial a quality burr grinder is for consistent espresso. The difference between my old blade grinder and my first burr grinder was like night and day.
Burr grinders offer:
- Consistent particle size
- Adjustable grind settings
- Minimal heat generation
- Longer lifespan
Blade grinders create:
- Uneven particle distribution
- Heat that can damage coffee oils
- Limited control over grind size
- Inconsistent extraction
If you’re serious about espresso, investing in a quality burr grinder is more important than upgrading your espresso machine. I’ve pulled amazing shots from basic machines with great grinders, but never the reverse.
Grinder Settings and Adjustments
Most espresso-capable grinders have numbered settings, but here’s the thing—these numbers mean nothing across different brands. What matters is understanding how to make incremental adjustments.
My approach to dialing in:
- Start with manufacturer recommendations
- Pull a test shot and time it
- Adjust one “click” finer or coarser
- Repeat until you hit your target time
- Fine-tune based on taste
Remember, small adjustments make big differences in espresso. I typically change just one or two clicks at a time, especially when I’m close to the target.
Step-by-Step Grind Size Chart Dialing Process
Starting Point Setup
When I’m dialing in a new bag of beans or setting up a new grinder, I follow this systematic approach that’s saved me countless hours of frustration:
Initial Setup:
- Use 18-20g of coffee for a double shot
- Set grinder to manufacturer’s espresso recommendation
- Ensure your espresso machine is properly heated
- Have a scale and timer ready
The Dialing Process
Step 1: Baseline Shot
Pull your first shot and note:
- Extraction time
- Flow characteristics (drops vs. steady stream)
- Crema color and thickness
- Taste profile
Step 2: Analyze and Adjust
Based on your baseline:
- Shot too fast + sour taste: Grind finer
- Shot too slow + bitter taste: Grind coarser
- Good timing but off flavors: Make smaller adjustments
Step 3: Incremental Changes
This is where patience pays off. I make one small adjustment at a time:
- Change grind by 1-2 clicks
- Pull another shot
- Compare results
- Repeat until satisfied
Troubleshooting Common Issues
Channeling (uneven extraction):
- Often caused by inconsistent grind
- Can indicate grinder needs calibration
- May require distribution technique improvement
Inconsistent shots:
- Check grinder for retained grounds
- Ensure consistent dosing
- Verify tamping pressure
I’ve found that most extraction issues trace back to grind consistency rather than technique, which is why investing in quality equipment matters so much.
Fine-Tuning for Different Coffee Beans

Roast Level Considerations
Not all beans are created equal, and your espresso grind size chart needs to account for roast variations. I’ve learned to adjust my approach based on the roast profile:
Light Roasts:
- Denser beans require slightly finer grind
- Longer extraction times (30-35 seconds)
- Higher brewing temperatures
- More acidic flavor profile
Medium Roasts:
- Standard grind size works well
- Classic 25-30 second extraction
- Balanced flavor development
- Most forgiving for beginners
Dark Roasts:
- Slightly coarser grind often works better
- Shorter extraction times (20-25 seconds)
- Lower brewing temperatures
- Risk of over-extraction
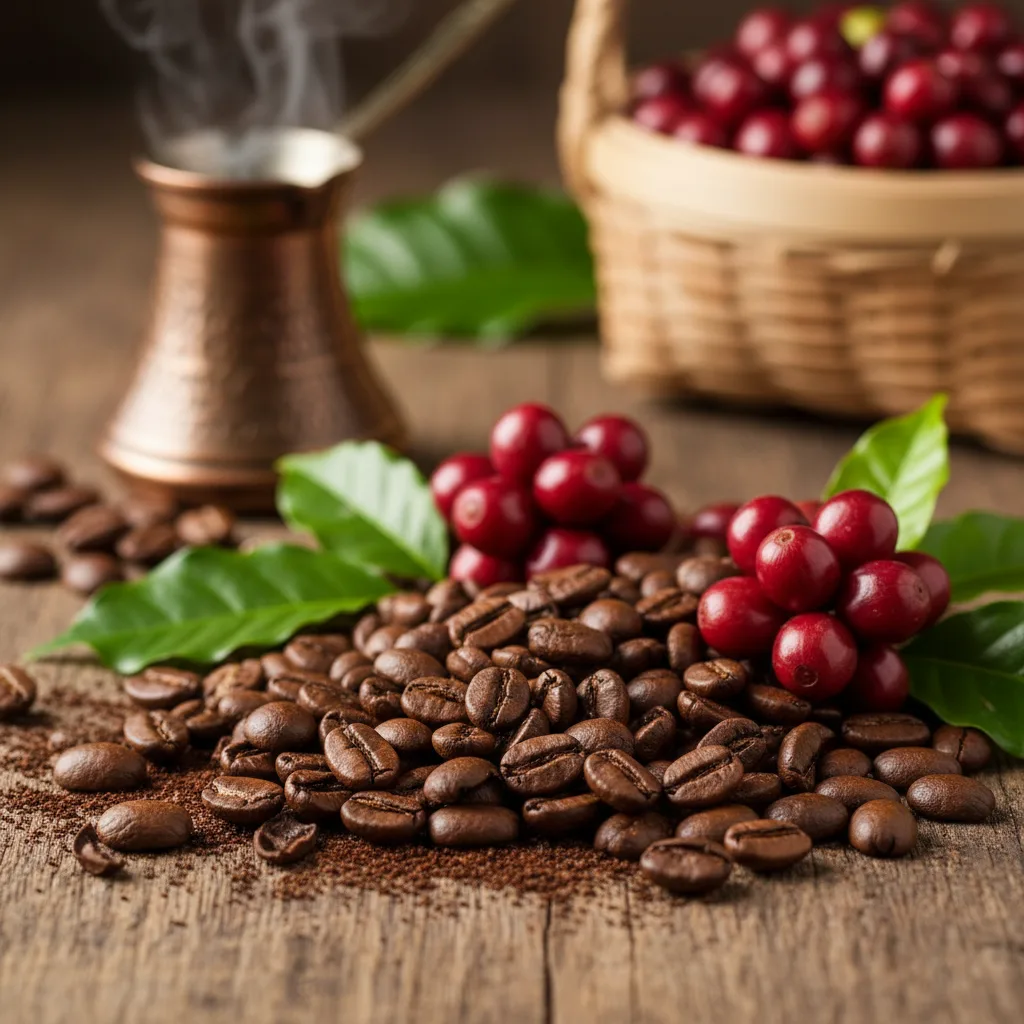
Bean Age and Freshness
Fresh beans behave differently than aged ones, and I adjust my grind accordingly:
Fresh beans (2-7 days post-roast):
- May require slightly coarser grind
- Can be more “gassy” and create uneven extraction
- Often produce more crema
Peak beans (1-3 weeks post-roast):
- Easiest to dial in
- Most consistent extraction
- Best flavor development
Older beans (3+ weeks):
- May need finer grind to compensate for CO2 loss
- Less forgiving extraction window
- Diminished crema production
When I discover exceptional organic espresso beans, I always note the roast date and plan my grinding strategy accordingly.
Advanced Grind Size Techniques
Pressure Profiling and Grind Adaptation
If you have an advanced espresso machine with pressure profiling capabilities, you can use grind size strategically to complement different pressure curves.
For pre-infusion focused profiles:
- Slightly finer grind works well
- Allows pre-infusion to penetrate evenly
- Creates more even extraction bed
For declining pressure profiles:
- Medium-fine grind prevents choking
- Allows flow rate to remain consistent
- Produces complex flavor layering
Single vs. Double Shot Considerations
I’ve noticed that single and double shots often require slightly different grind sizes, even when using the same coffee:
Single shots (7-9g):
- Often need slightly coarser grind
- Less coffee creates less resistance
- Harder to achieve even extraction
Double shots (18-20g):
- Standard grind size usually works
- More forgiving extraction
- Easier to dial in consistently
Most home baristas find double shots more consistent, which is why I usually recommend starting there when learning to dial in grind size.
Common Grind Size Mistakes to Avoid
The “Big Jump” Error
The biggest mistake I see new espresso enthusiasts make is changing their grind size too dramatically. When a shot runs too fast, they’ll jump several settings finer, often overshooting the target.
Instead of big jumps:
- Make 1-2 click adjustments
- Test each change thoroughly
- Keep notes on what works
Ignoring Grinder Retention
Most grinders retain some coffee grounds between uses. When you change grind settings, you need to purge this retained coffee to get accurate results.
My purging routine:
- Change grind setting
- Run 2-3g of beans through to clear old grounds
- Then grind for your actual shot
Focusing Only on Time
While extraction time is important, it’s not the only factor. I’ve pulled amazing 35-second shots and terrible 27-second shots. Taste should always be your final judge.
Consider the complete picture:
- Extraction time
- Flow characteristics
- Crema quality
- Most importantly: flavor
Troubleshooting Your Espresso Grind
Diagnosing Extraction Problems
When shots aren’t tasting right, I use this systematic approach to identify grind-related issues:
Sour shots checklist:
- ✓ Grind finer
- ✓ Increase dose
- ✓ Check water temperature
- ✓ Verify bean freshness
Bitter shots checklist:
- ✓ Grind coarser
- ✓ Decrease dose
- ✓ Lower water temperature
- ✓ Reduce extraction time
Visual Cues During Extraction
Learning to read your shot as it pulls gives you real-time feedback about your grind size:
Good extraction signs:
- Steady, honey-like flow
- Rich, golden crema
- Even flow from portafilter spouts
Problem indicators:
- Dripping or spurting (too fine)
- Fast, light-colored flow (too coarse)
- Uneven flow from spouts (channeling)
These visual cues, combined with taste, help me fine-tune my barista techniques for consistently great espresso.
Advanced Tips for Espresso Perfection
Micro-Adjustments and Timing
Once you’re comfortable with basic grind adjustments, you can start making micro-adjustments for specific flavor goals. I sometimes make half-click adjustments on my grinder when I’m really dialing in a special bag of beans.
Micro-adjustment scenarios:
- Slightly too much acidity: 1/2 click finer
- Touch too bitter: 1/2 click coarser
- Good flavor but want more body: slight increase in dose
Grind Distribution Techniques
Even with perfect grind size, poor distribution can ruin your shot. I use these techniques to ensure even water flow:
Distribution methods I use:
- WDT (Weiss Distribution Technique) with thin needles
- Gentle tapping to settle grounds
- Leveling tools for consistent surface
Pressure and Grind Relationships
Understanding how grind size interacts with brewing pressure helps you troubleshoot more effectively:
Higher pressure systems:
- Can handle slightly coarser grinds
- More forgiving extraction window
- Risk of over-extraction with fine grinds
Lower pressure systems:
- Require finer grinds for proper extraction
- More sensitive to grind changes
- Longer extraction times may be needed
Investment in Quality Grinding
Upgrading to a quality burr grinder was one of the best investments I made in my espresso setup. The improved consistency immediately elevated my shots and reduced waste.
ROI of good grinding equipment:
- Fewer wasted shots = less coffee waste
- Consistent results = more enjoyable coffee experience
- Better extraction = getting full value from premium beans
- Longer equipment life = reduced replacement costs
When you’re ready to upgrade your grinding setup, check out our comprehensive guide to grinders and gear for detailed recommendations.
Conclusion
Mastering your espresso grind size is the foundation of brewing café-quality espresso at home. It’s not just about following a chart—it’s about understanding how particle size affects extraction, learning to taste the difference, and developing the patience to make small adjustments until you find that perfect balance.
Remember, every bag of beans is different, every grinder has its quirks, and even environmental factors play a role. The key is developing a systematic approach: start with a baseline, make incremental changes, and always let taste be your final judge.
Your espresso journey is personal, and finding your perfect grind size is part of what makes each cup special. Whether you’re just starting out or looking to refine your technique, the principles in this guide will help you dial in shots that rival your favorite café.
Ready to take action? Start by evaluating your current grinder setup. If you’re using a blade grinder, consider upgrading to a burr grinder—it’ll make more difference than any other equipment change. Then, grab a notebook and start logging your shots. Track your grind settings, extraction times, and taste notes. You’ll be amazed how quickly you develop an intuition for dialing in perfect espresso.
The path to espresso mastery isn’t just about the destination—it’s about enjoying every shot along the way. Now go forth and grind with confidence!
FAQs: Espresso Grind Size Chart & Dialing-In
What is an espresso grind size chart and why should I use one?
An espresso grind size chart is a quick reference that maps grind texture to target shot times and flavor outcomes. It helps you diagnose sour (too coarse) or bitter (too fine) shots and make small, systematic adjustments.
Where should I start on the espresso grind size chart for a new bag of beans?
Begin at a “fine” setting (think fine sea salt), dose 18–20 g, and aim for a 1:2 ratio in 25–30 seconds. From there, follow the espresso grind size chart cues: go finer if it’s sour/fast; go coarser if it’s bitter/slow.
Does roast level change how I read the espresso grind size chart?
Yes. Light roasts usually need slightly finer grinds and longer extractions; dark roasts often prefer a touch coarser and shorter times. Use the espresso grind size chart as a baseline, then fine-tune by taste.
Which grinder works best for following an espresso grind size chart?
Burr grinders (manual or electric) are essential. They produce uniform particles so the espresso grind size chart behaves predictably. Blade grinders create “fines and boulders,” causing mixed over/under-extraction.
How do humidity and temperature affect my espresso grind size chart settings?
On humid days, shots often run faster—go a notch finer. In dry conditions, static increases and flow can slow—go slightly coarser. Keep a simple log of your espresso grind size chart setting vs. weather to adjust quickly.
I use multiple kitchen gadgets—any tips for organizing an espresso grind size chart routine?
Create a small “brew station” checklist: weigh dose, set grinder, time shot, taste, note changes. For broader kitchen gear research, I like scanning comparison sites such as airfryerfinds.com for layout ideas—then applying that same organized approach to my espresso grind size chart log.
Leave a Reply
You must be logged in to post a comment.