

Expert Overview
Key Takeaways
A WDT tool breaks up clumps in your coffee grounds and distributes them evenly across the portafilter basket, preventing channeling and improving espresso extraction quality. Here’s what you need to know:
- Use 3-5 thin needles (0.3-0.4mm diameter) for optimal distribution without damaging grounds
- Stir in concentric circles from outer edge to center, reaching the full depth of the puck
- Apply gentle pressure – aggressive stirring creates new density problems
- WDT before tamping – distribution must happen first, then compression
- Expect 15-30 seconds of stirring time per shot for thorough distribution
The technique addresses uneven density caused by grinders, which creates water pathways (channeling) that lead to sour, under-extracted espresso. According to research published in the Journal of Food Engineering, even distribution is critical for achieving balanced extraction across the entire coffee puck. When you master WDT, you’ll notice richer flavor, better crema, and more consistent shots across your entire brewing session.
Need a deeper product breakdown? Explore our espresso product hub.
What is a WDT Tool and Why Use It?
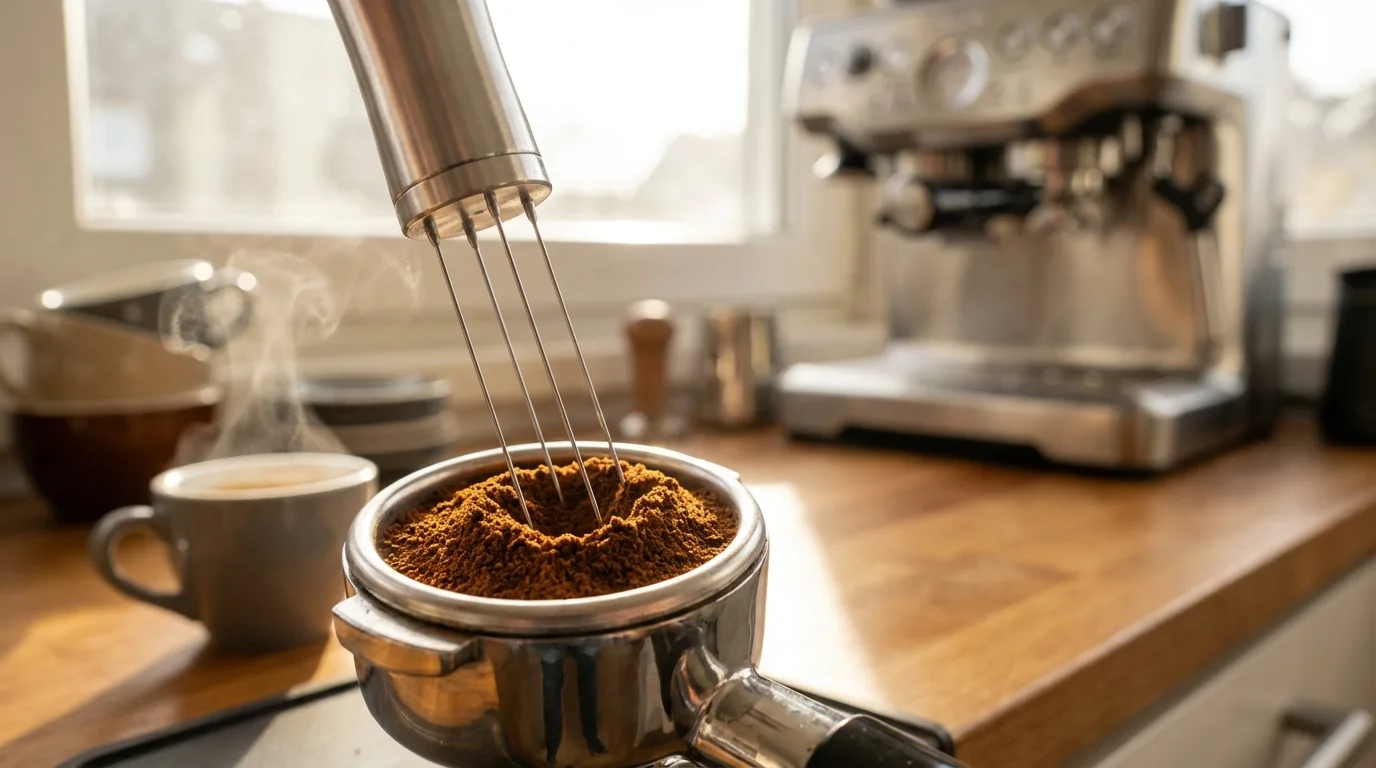
A WDT (Weiss Distribution Technique) tool is a handheld instrument with multiple thin needles designed to break up clumps and evenly distribute coffee grounds in your portafilter basket before tamping. Named after John Weiss, who popularized the method in home barista communities, this simple tool solves one of espresso’s most persistent problems: uneven ground density.
Coffee grinders—even high-end models—produce grounds that clump together due to static electricity, moisture, and mechanical compression during grinding. These clumps create areas of varying density in your portafilter. When you pull a shot, water follows the path of least resistance, flowing quickly through less-dense areas while leaving denser clumps under-extracted. This phenomenon, called channeling, results in espresso that tastes simultaneously sour (under-extracted) and bitter (over-extracted).
WDT eliminates this problem by mechanically separating clumps and redistributing grounds into a uniform bed. The technique is particularly valuable for:
- Single-dose grinders that produce more static and clumping
- Light roast coffees that require more precise extraction
- Home espresso setups without commercial-grade grinders with built-in distribution systems
- Achieving consistency across multiple shots throughout the day
In our testing, shots prepared with WDT showed visibly more even extraction, with consistent flow rates and significantly improved flavor clarity compared to shots pulled from undistributed grounds. The investment in a quality WDT tool—typically $15-40—delivers immediate, noticeable improvements in shot quality. For more advanced espresso techniques, explore our guide on how to steam milk for latte art.
The Core Concept: Why WDT Matters for Espresso
Even coffee ground distribution creates uniform resistance throughout the puck, forcing water to extract all grounds equally rather than finding easy pathways through less-dense areas. This fundamental principle determines whether you’ll pull a balanced shot or a channeled mess.
Espresso extraction relies on pressure—typically 9 bars—to force water through finely ground coffee. When grounds have consistent density, water pressure distributes evenly across the entire puck surface, extracting soluble compounds uniformly. Barista Hustle's research on extraction demonstrates that even small density variations create dramatic flow rate differences, with water moving up to 3x faster through less-dense zones.
Channeling manifests in several ways:
- Visual signs: Thin, fast-flowing streams during extraction; blonde spots in the puck after pulling the shot
- Taste indicators: Sour notes (under-extraction) mixed with harsh bitterness (over-extraction from the fast channels)
- Consistency problems: Shot times varying by 5-10 seconds despite identical dose and grind settings
The science behind WDT’s effectiveness is straightforward. Coffee grounds exit the grinder in clusters held together by van der Waals forces, static electricity, and moisture. A grinder’s exit chute and dosing method can create preferential pathways where grounds fall into the basket, leaving voids and dense spots. WDT’s mechanical agitation breaks these bonds and redistributes particles into a more homogeneous bed.
In practical terms, proper distribution reduces your shot-to-shot variation from ±5 seconds down to ±1-2 seconds, assuming consistent dose and grind. This repeatability is essential for dialing in new coffees and maintaining quality throughout a bag. Whether you’re using a beginner-friendly machine or a high-end setup, WDT levels the playing field by addressing the weakest link: ground preparation.
Tools Needed for Effective WDT
Quick answer: how to use wdt tool works best when you control ingredient quality, timing, and temperature with precision. Follow the exact sequence below to keep texture smooth, sweetness balanced, and flavor concentrated, so every cup tastes consistent from the first sip to the last.
Assembling the right WDT setup requires just a few essential items. Here’s what you need for professional-quality distribution:
Essential Tools:
WDT Tool Selection:
Needle count and thickness matter significantly. Tools with 3-5 needles in the 0.3-0.4mm range provide optimal performance—enough coverage to break clumps efficiently without creating new density problems through over-agitation. Thicker needles (0.5mm+) can damage ground structure and create channels, while tools with 7+ needles often cause unnecessary turbulence.
Many baristas craft DIY WDT tools using 3D-printed handles and acupuncture needles, but commercial options like the premium distribution tools offer consistent needle spacing and ergonomic handles that reduce fatigue during high-volume use.
Recommended Precision Scale:
The Espresso Insider product catalog delivers the accuracy needed for repeatable espresso preparation. With 0.1g precision and a built-in timer, this compact scale fits easily on espresso machine drip trays while providing the measurement reliability essential for dialing in your WDT technique. Its USB-C rechargeable battery eliminates the hassle of replacements, and the 90-day standby time means it’s always ready when you need it.
Supporting Equipment:
A dosing funnel is non-negotiable for WDT. Without one, grounds scatter across your counter during stirring, creating mess and dose inconsistency. Magnetic funnels provide the most secure attachment, while friction-fit models work adequately for careful stirring. The Espresso Insider product catalog complements your WDT setup by offering both 51mm and 58mm tamping surfaces, ensuring proper compression after distribution regardless of your machine’s portafilter size.
For those building a complete espresso station, check our Espresso Insider product catalog for curated recommendations on scales, tampers, and distribution tools that work together seamlessly.
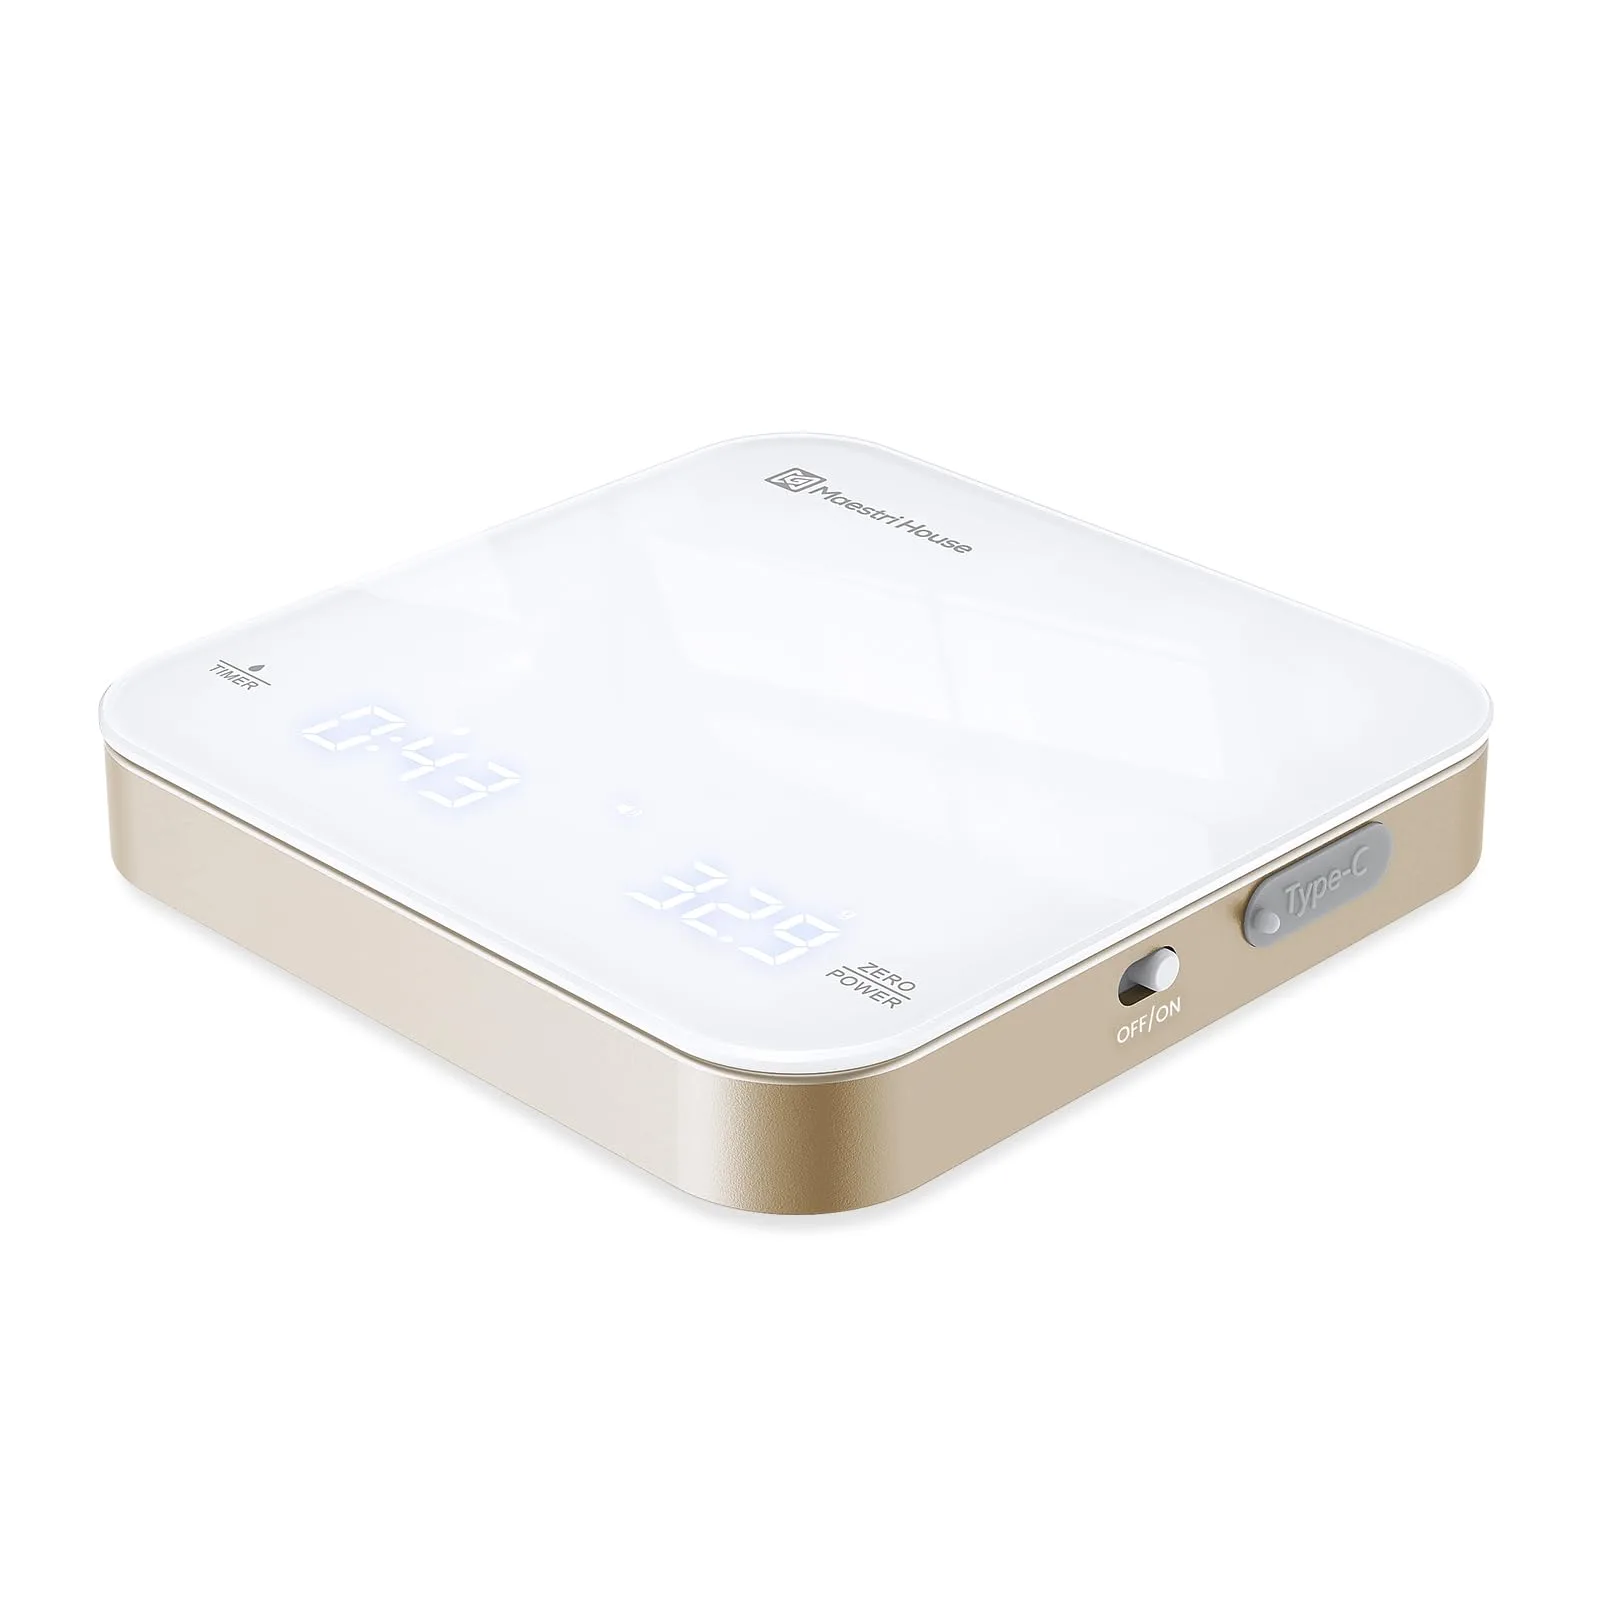
Maestri House Mini Coffee Scale
- 【Ultra Small, Yet Professional】The Espresso Scale is small enough to fit in your palm. It measures 4.13*4.13*0.78 inches and weighs just 0.75 pounds. The coffee scale can work on most espresso machines and small pour-over coffee stands. It’s easy to store and carry around, making it perfect for coffee lovers who like outdoor coffee
- 【0.1g High Precision】This digital kitchen coffee scale is equipped with high-precision sensors and a reliable microprocessor, guaranteeing precise measurements every time. With an accuracy of 0.1g and a range of 0.5g-2000g, it is particularly well-suited for espresso and pour-over brewing methods, ensuring impeccable results
- 【Three Units & Dual Timekeeping Modes】The Espresso Digital Timer Scale has three units of measurement (g/oz/ml) that can be converted at any time. The small coffee scale has two built-in timing modes, automatic and manual, allowing you to accurately time the coffee brewing process. This feature ensures that your coffee is always delicious and perfectly brewed to your taste
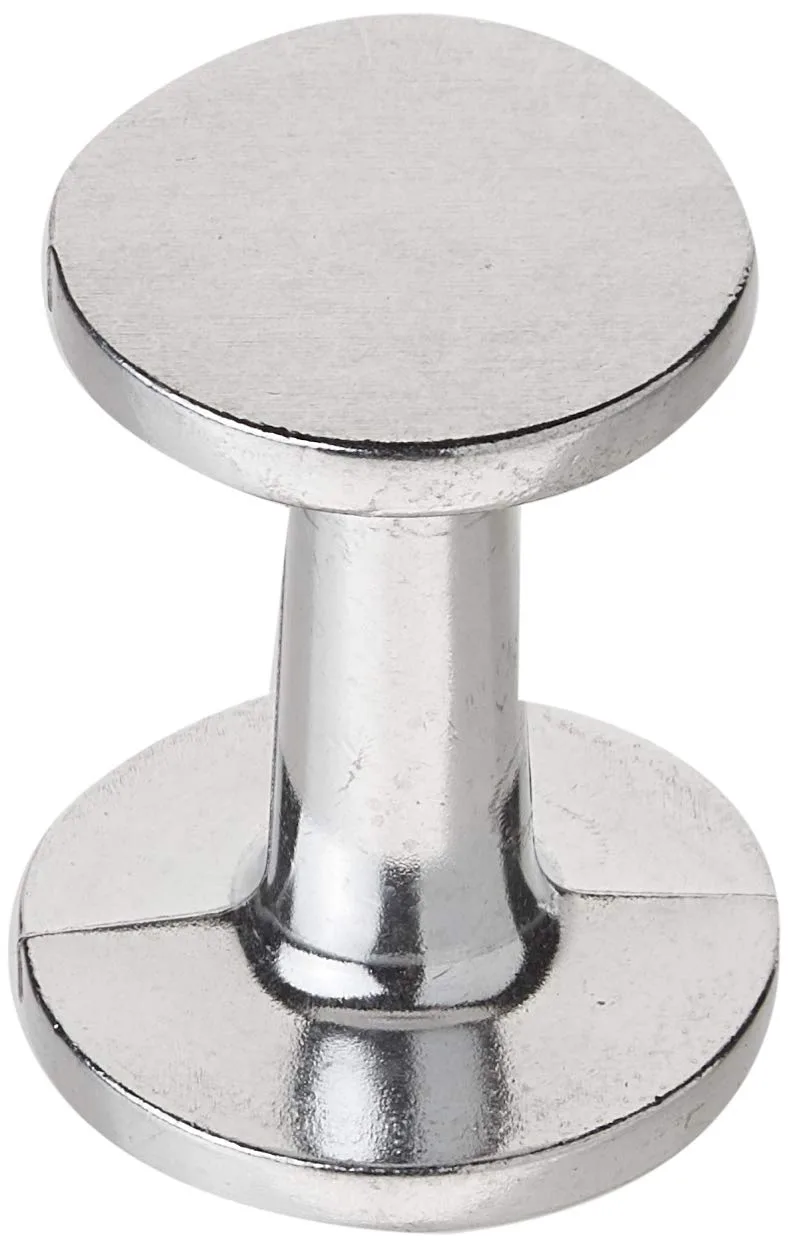
RSVP International Dual Sided Tamper
- FANTASTIC QUALITY: Made of tumble finished long lasting cast alloy with no chemical coating that resists corrosion from acids found in coffee
- GREAT FUNCTION: The dual ends of this tamper evenly distributes, compress and level ground coffee for a denser, richer and more flavorful espresso brew; Features two flat tamping sides; 51mm (2-inches) and 58mm (2-1/4-inches)
- GREAT FOR ANY KITCHEN: Commercial quality, heavy die cast aluminum alloy designed by a professional barista for the expert or home espresso maker
Step-by-Step Guide to Performing WDT
Master the WDT technique by following this systematic approach that ensures consistent distribution every time. Each step builds on the previous one to create the ideal coffee bed for extraction.
Step 1: Dose Accurately (15-20 seconds)
Place your portafilter with attached dosing funnel on your scale and tare to zero. Grind directly into the basket, targeting your recipe’s dose weight (typically 18-20g for a double shot). Accuracy matters—variations of even 0.5g affect extraction and make it impossible to evaluate your WDT technique’s effectiveness. Stop grinding when you reach your target weight, then remove the portafilter from the scale.
Step 2: Initial Assessment (5 seconds)
Observe the ground distribution from your grinder. Note any obvious mounding (common with single-dose grinders) or voids (typical with grinders that spray grounds). This visual check helps you understand where to focus your WDT effort. Grounds should fill the basket to roughly 80% capacity before distribution.
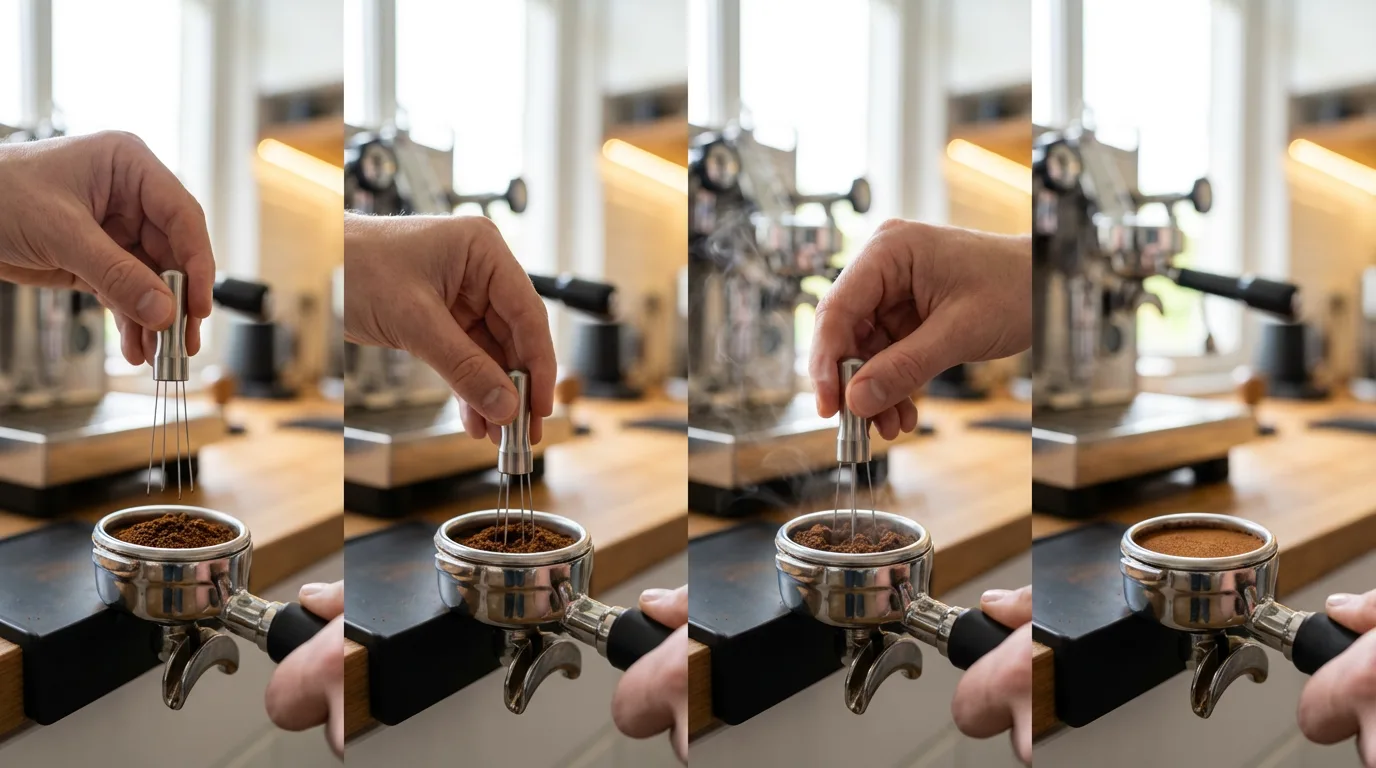
Step 3: Deep Vertical Insertion (5 seconds)
Hold your WDT tool vertically above the center of the basket. Insert the needles straight down until they reach the basket’s bottom. This initial insertion breaks up the deepest clumps that form during grinding. Avoid angling the tool during this first insertion—vertical penetration ensures you address the full depth of the puck.
Step 4: Concentric Circle Stirring (15-25 seconds)
Begin stirring in slow, deliberate circles, starting from the outer edge of the basket and working toward the center. Maintain needle depth at the basket bottom throughout this motion. Complete 3-4 full rotations around the basket perimeter, then gradually spiral inward. Your needles should travel through every zone of the coffee bed, breaking clumps and redistributing grounds into voids.
Key technique points:
- Speed: Move…
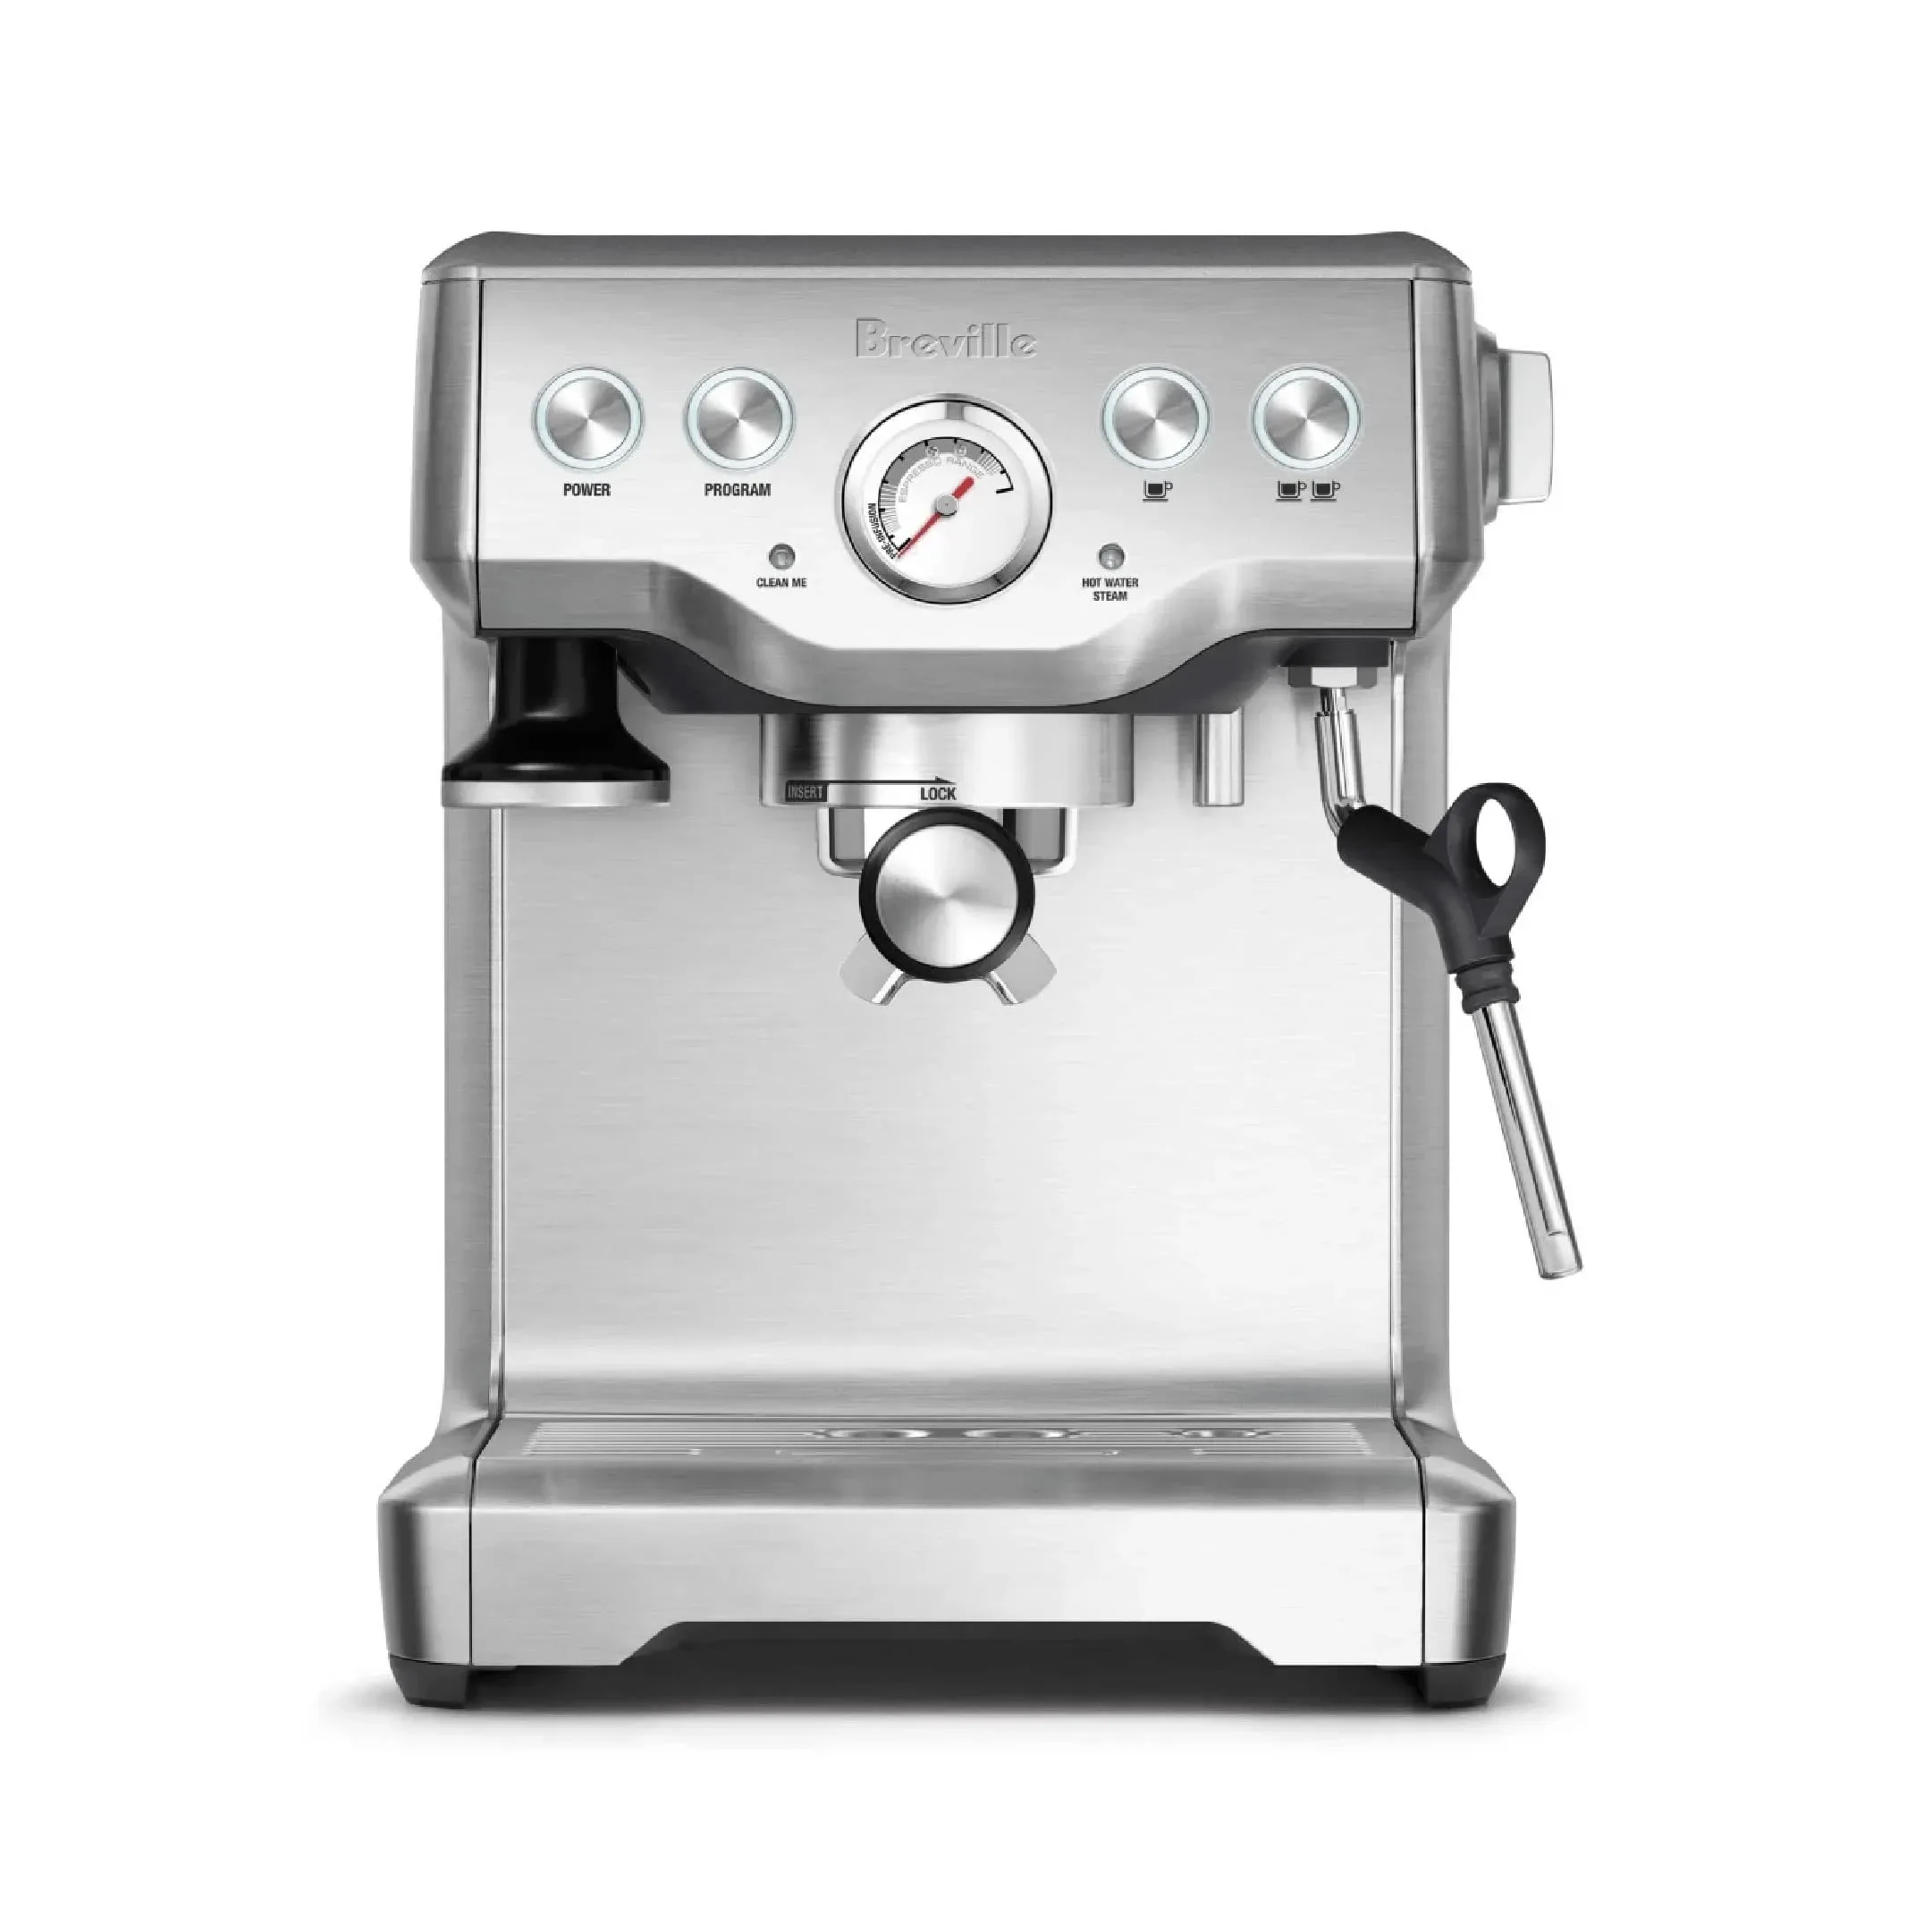
Breville Infuser Espresso Machine BES840XL
- The Breville Infuser delivers optimal flavor in every cup creating third wave specialty coffee at home using the 4 keys formula, ensuring the right dose of beans, optimal water pressure, precise temperature control and microfoam milk for latte art
- VOLUMETRIC AND SHOT CONTROL: Control the volume of each pour at the touch of a button and choose 1 shot, 2 shot or manually control over how much espresso ends up in your cup for the perfect dose every time
- OPTIMAL WATER PRESSURE: Low pressure pre-infusion gradually increases pressure at the start and helps ensure all the flavors are drawn out evenly during the extraction for a balanced tasting cup
Advanced WDT Techniques for Optimal Extraction
Quick answer: how to use wdt tool works best when you control ingredient quality, timing, and temperature with precision. Follow the exact sequence below to keep texture smooth, sweetness balanced, and flavor concentrated, so every cup tastes consistent from the first sip to the last.
Refine your WDT approach with these advanced methods that address specific extraction challenges and grinder characteristics. Once you’ve mastered basic distribution, these techniques unlock even greater consistency.
Depth-Layered Distribution
Instead of stirring at a single depth, work in three distinct layers. Start with needles at the basket bottom for 3-4 rotations, then raise to mid-depth for 2-3 rotations, and finish with surface-level passes. This approach addresses density stratification that occurs when grounds settle during dosing, with heavier particles sinking and finer particles floating. Depth-layered WDT creates truly three-dimensional distribution…
Frequently Asked Questions
How many needles should a WDT tool have?
The optimal WDT tool has 3-5 needles with 0.3-0.4mm diameter. This count provides sufficient coverage to break clumps efficiently without over-agitating grounds, which can create new density problems. Tools with 7+ needles often cause unnecessary turbulence and slower stirring.
Should I WDT before or after tamping?
Always perform WDT before tamping. Distribution must happen first to create an even coffee bed, then tamping compresses that evenly distributed bed. Attempting to distribute after tamping damages the compressed puck structure and creates channels.
How long should WDT take per shot?
Effective WDT takes 15-30 seconds of actual stirring time, plus 15-20 seconds for dosing and setup. Total time from grinding to tamping is typically 45-65 seconds. Rushing creates incomplete distribution, while excessive stirring can damage ground structure.
Can WDT fix channeling problems completely?
WDT eliminates channeling caused by uneven distribution but cannot fix problems from incorrect grind size, stale coffee, or damaged baskets. If you still experience channeling after proper WDT, check your grind setting (too coarse causes fast channeling) and ensure your basket has no dents or damage.
Do I need WDT with a high-end grinder?
Even premium grinders benefit from WDT. While commercial grinders produce less clumping than entry-level models, they still create some density variation due to static and mechanical compression. WDT provides noticeable improvement across all grinder quality levels, particularly with single-dose grinding workflows.
Conclusion
Mastering WDT transforms your espresso quality by addressing the root cause of channeling and inconsistent extraction. The technique requires minimal investment—a quality distribution tool and 30 seconds per shot—but delivers immediate, dramatic improvements in flavor clarity and shot consistency. Start with the basic five-step process outlined here, then refine your approach with advanced techniques as you develop tactile sensitivity to your specific grinder’s output patterns.
Consistency comes from deliberate practice. Track your shot times and taste notes over your next 20-30 shots, adjusting your WDT pattern and depth based on results. Within a week, proper distribution becomes automatic, and you’ll immediately taste the difference when you skip it. The investment in technique pays dividends in every cup, whether you’re pulling shots on an entry-level machine or a professional setup.
For more ways to elevate your home espresso game, explore our complete guide to espresso techniques and discover how proper preparation methods unlock your equipment’s full potential.
Before You Buy
Shortlist 2 to 4 options, compare practical tradeoffs side by side, then click through to a retailer only after your workflow fit is clear.