

Decision Snapshot
Start With the Short Answer
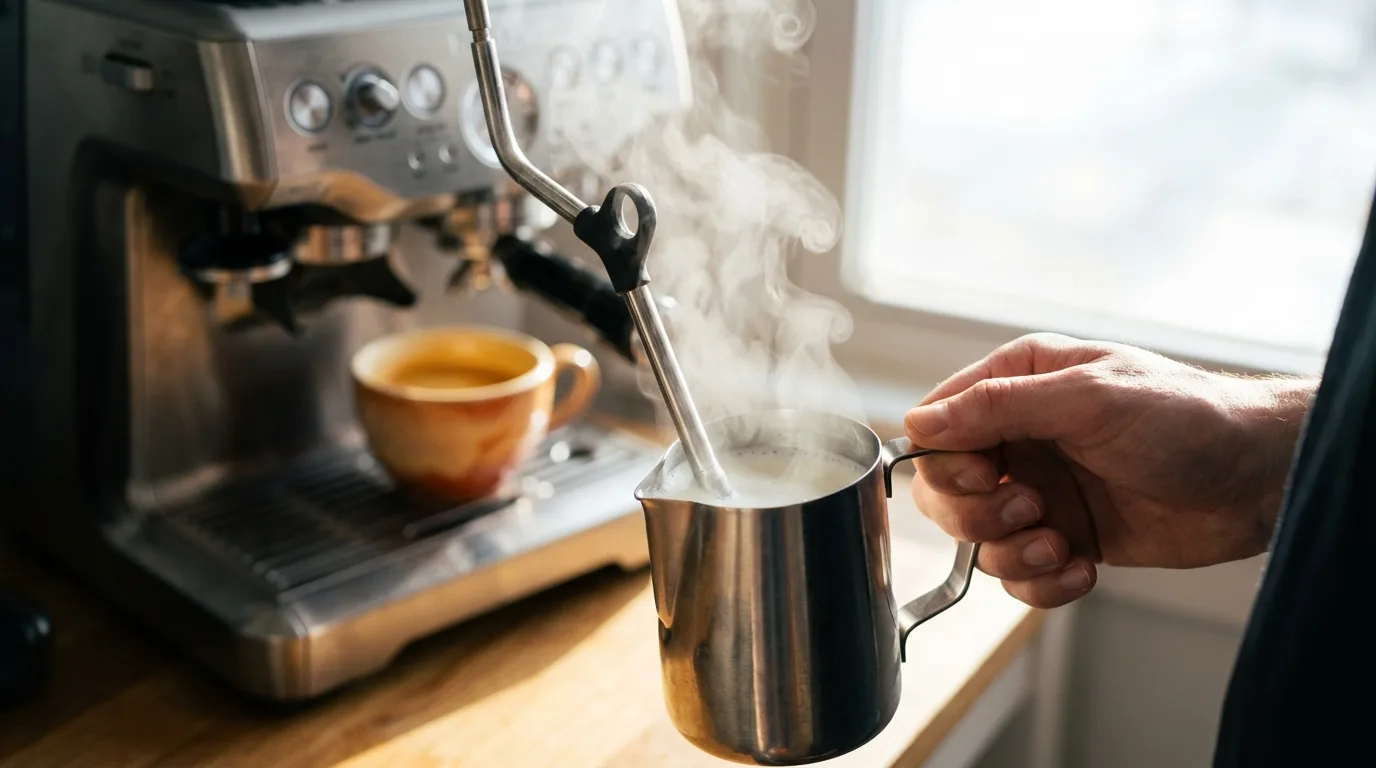
Creating beautiful latte art starts with perfectly steamed milk.
Key Takeaways
Quick answer: Understanding how to steam milk for latte art starts with the variables that affect cup quality most: consistency, technique, and setup fit. This section gives you a direct framework you can apply immediately, so your next buying decisions produce better flavor clarity and more repeatable espresso at home.
Mastering milk steaming is the foundation of latte art, requiring the right technique, equipment, and milk choice to create silky microfoam.
Here’s what you need to know to steam milk like a pro:
- Microfoam is essential: Create velvety, paint-like milk by incorporating tiny air bubbles during steaming, not large froth
- Temperature matters: Steam milk to 150-155°F (65-68°C) for optimal sweetness and texture without scalding
- Technique is everything: Master the two-phase process—stretching (aerating) and texturing (creating a vortex)
- Equipment investment: A quality steam wand and stainless steel pitcher are non-negotiable for consistent results
- Milk choice impacts results: Whole milk produces the best microfoam due to its protein and fat content, though quality oat milk alternatives work well
Whether you’re using a Espresso Insider product catalog or a high-end setup, these fundamentals remain constant. The difference between flat white-quality microfoam and disappointing froth comes down to understanding the science and practicing the technique consistently.
What is Microfoam and Why Does It Matter for Latte Art?

Microfoam is steamed milk with microscopic air bubbles that create a glossy, velvety texture resembling wet paint—it’s the only milk texture that allows for detailed latte art patterns.
Unlike the large, dry bubbles you see in a cappuccino, microfoam integrates air so finely that the milk becomes thick and syrupy. When you tap your pitcher after steaming, microfoam should have a mirror-like shine with no visible bubbles breaking the surface.
The texture matters because latte art requires milk that flows smoothly and contrasts sharply with espresso. According to Barista Hustle, the ideal microfoam contains bubbles smaller than 0.1mm in diameter, creating a stable emulsion that holds its shape when poured.
Why microfoam is critical for latte art:
- Flow control: The paint-like consistency allows you to control pour speed and pattern formation
- Contrast definition: Properly textured milk creates stark white designs against dark espresso crema
- Pattern stability: Microfoam holds intricate designs like rosettas and tulips without immediately dissipating
- Taste enhancement: The fine texture distributes milk sweetness evenly throughout the drink
Large bubbles or under-aerated milk won’t give you the control needed for even basic heart patterns. The difference between a barista-quality latte and a home attempt usually comes down to microfoam consistency—master this, and your latte art journey becomes exponentially easier.
Essential Equipment for Steaming Milk
You need three core pieces of equipment to steam milk properly: an espresso machine with a capable steam wand, a stainless steel pitcher, and a thermometer until you develop temperature intuition.
Let’s break down each component:
Steam Wand Requirements
Your espresso machine’s steam wand is the heat source and aeration tool. Look for these features:
- Tip design: A single-hole or 2-4 hole tip provides better control than wide-spray tips
- Steam pressure: Machines with 15-bar pumps typically generate adequate steam pressure
- Articulation: The wand should swivel to position the tip correctly in your pitcher
- Purge capability: You must be able to clear condensation before steaming
Milk Pitcher Specifications
Stainless steel pitchers are industry standard for good reasons:
- Size matters: 12oz (350ml) pitchers work for single drinks; 20oz (600ml) for doubles
- Spout shape: A pointed spout gives you precision for latte art pouring
- Thermal conductivity: Stainless steel lets you feel temperature changes through the pitcher wall
- Volume markers: Fill to just below the spout base (roughly 1/3 full) to allow expansion room
Temperature Monitoring
Until you develop the tactile sense for temperature:
- Clip-on thermometers: Attach to pitcher rim and read real-time temperature
- Target zone: Remove from steam at 150-155°F (65-68°C)—milk continues heating 5-10°F after
- Hand method: When the pitcher becomes uncomfortably hot to hold, you’re near 140°F
According to the Coffee Quality Institute, exceeding 160°F denatures milk proteins and creates a scalded, flat taste that ruins both texture and flavor.
Budget-Friendly Starting Point
For beginners learning the fundamentals, you don’t need to invest thousands immediately. A capable entry-level machine combined with proper technique delivers results.
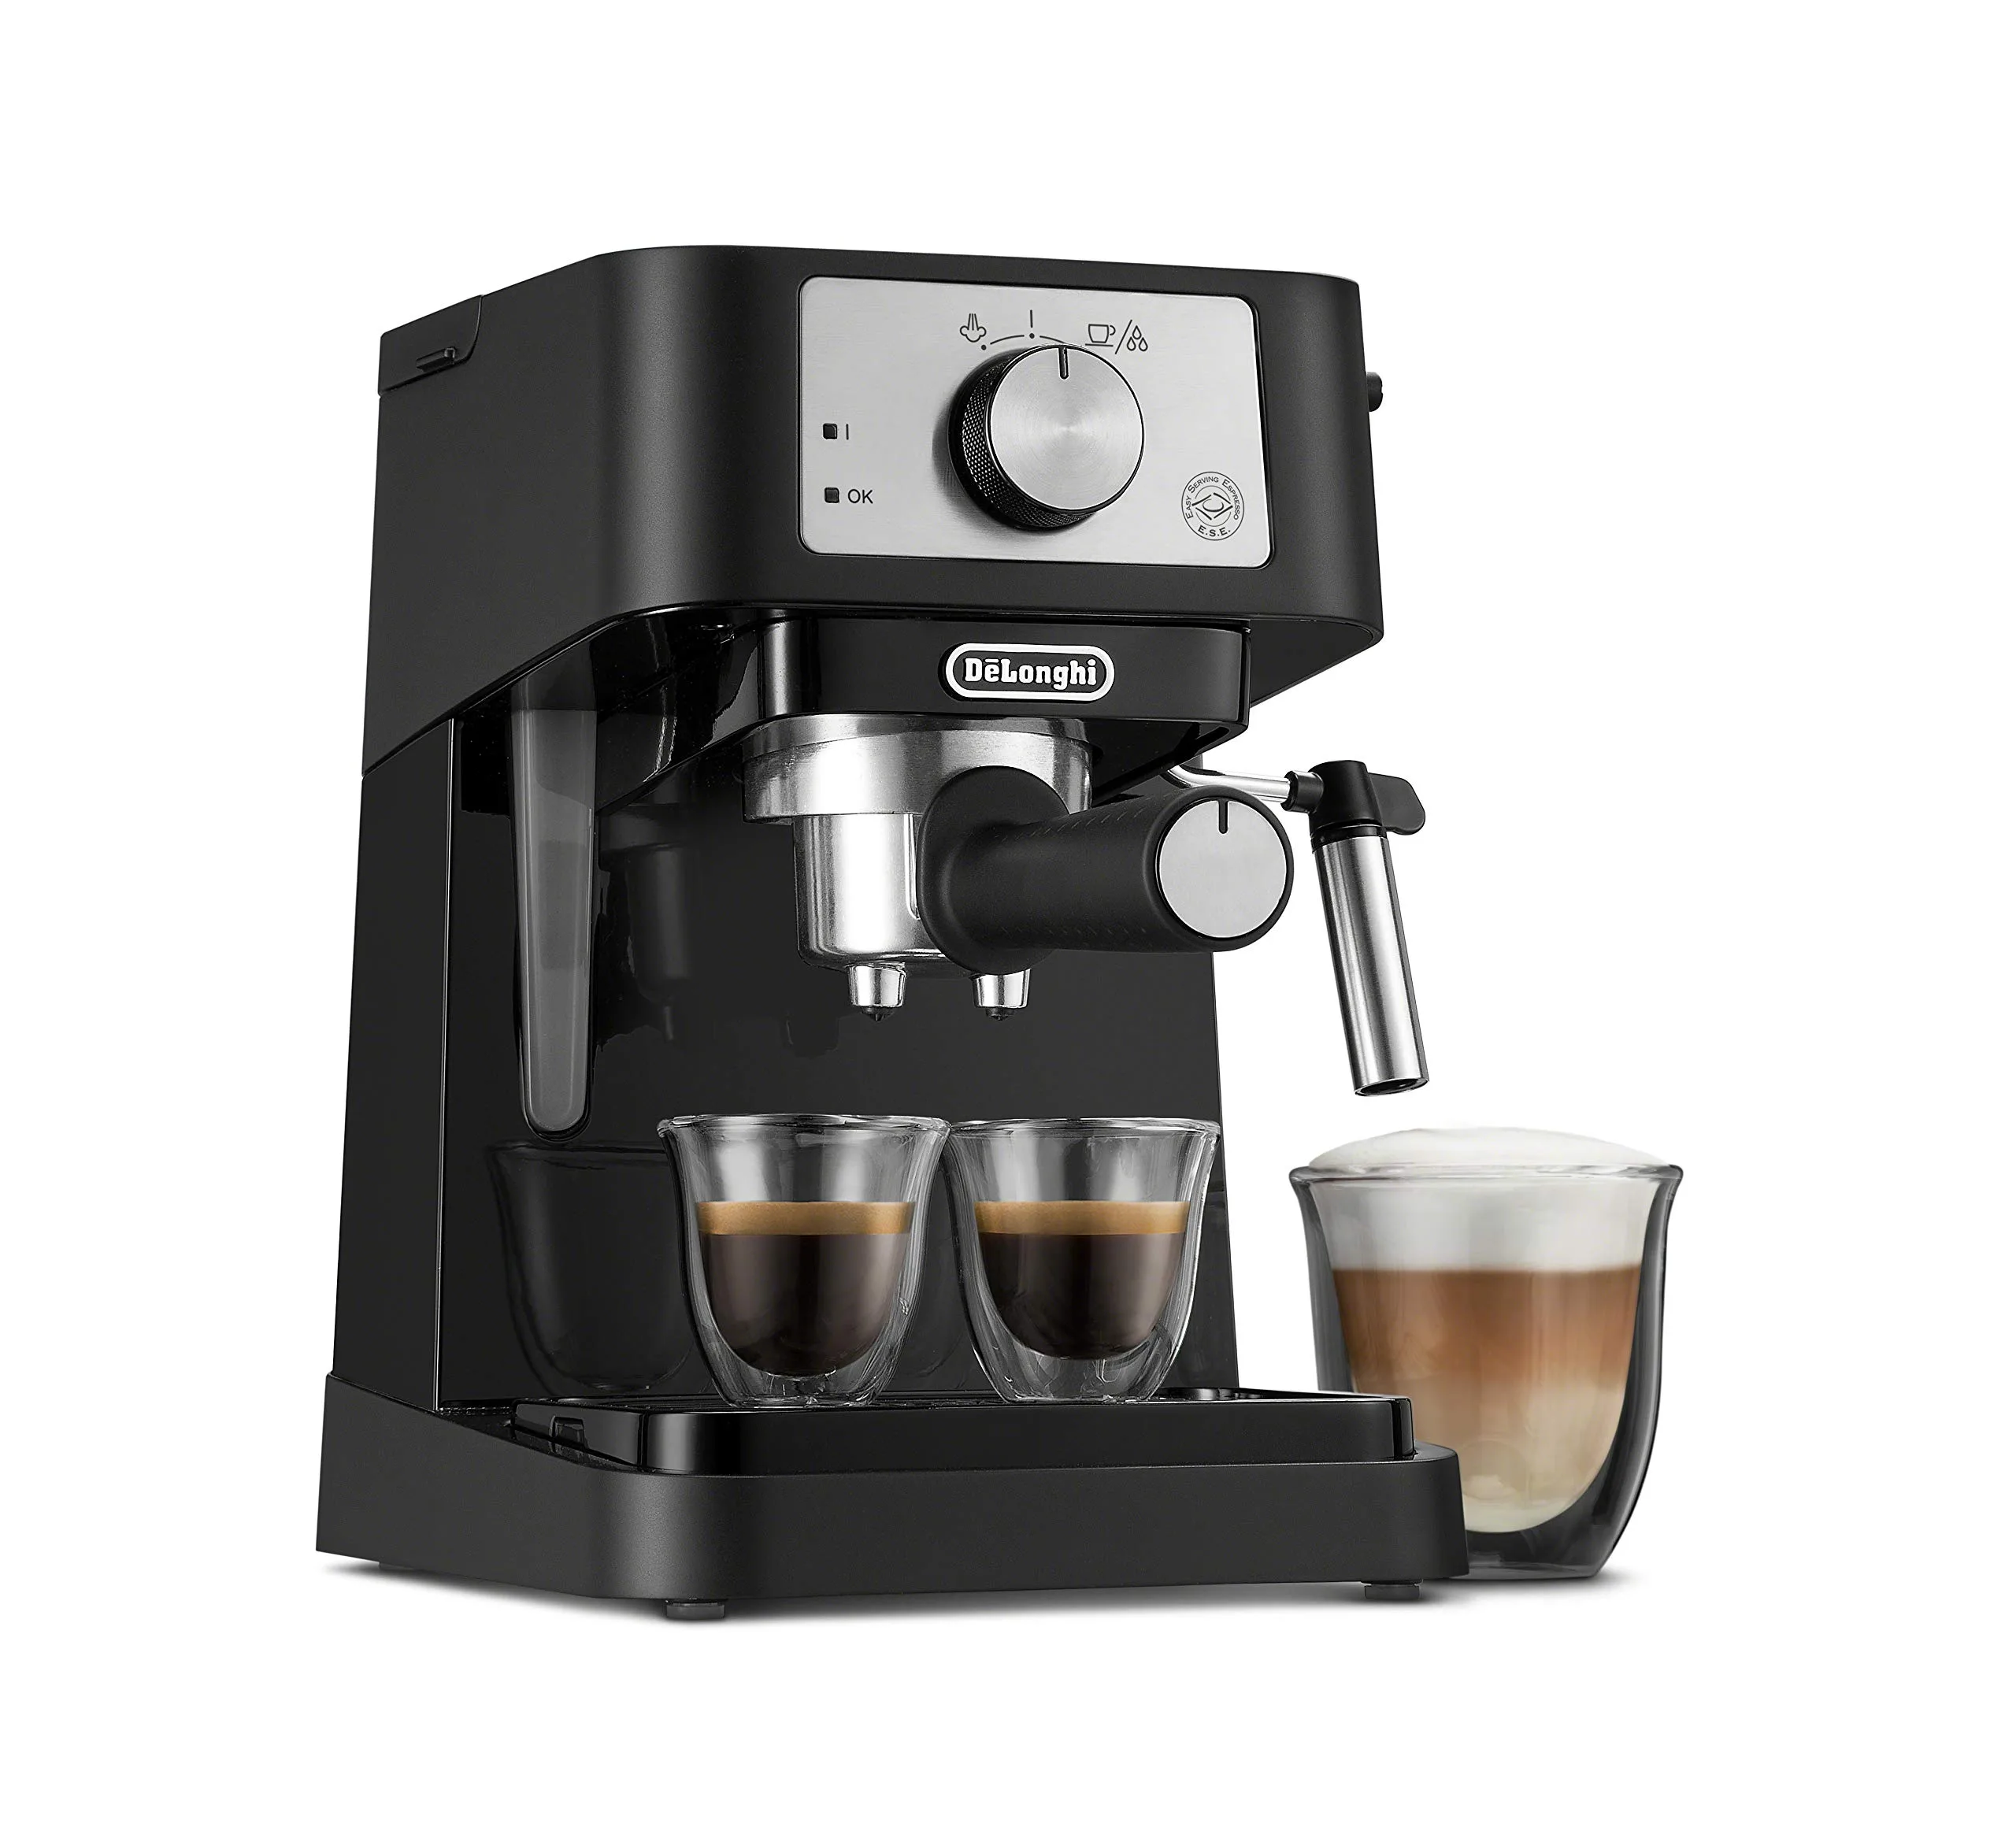
De’Longhi Stilosa Manual Espresso Machine
The De’Longhi Stilosa offers an accessible entry point for beginners learning to steam milk, combining a manual steam wand with a compact design at a budget-friendly price under $150.
This machine features a 15-bar pump and stainless steel boiler, providing the pressure needed for both espresso extraction and milk steaming. While its predominantly plastic construction reflects its price point, the manual steam wand gives you hands-on control to develop proper technique.
Key Features for Milk Steaming:
- Manual steam wand with swivel articulation for pitcher positioning
- Separate boiler system allowing steam generation after espresso brewing
- Compact footprint (9.5 x 7.5 x 11.75 inches) suitable for small kitchen spaces
- Includes single and double shot portafilters with measuring scoop
Pros:
- Affordable introduction to manual milk steaming technique
- Steam wand provides adequate power for learning microfoam basics
- Easy to clean and maintain for daily practice
- Compact design doesn’t dominate counter space
Cons:
- Steam wand has limited power compared to commercial-grade machines
- Plastic construction may affect long-term durability
- Requires practice to achieve consistent results
- Single boiler means waiting between brewing and steaming
Real-World Performance:
In our testing, the Stilosa’s steam wand produces adequate pressure for creating microfoam, though it requires more time than prosumer machines. The key is starting with cold milk and positioning the tip correctly—the machine rewards proper technique rather than compensating for mistakes.
For beginners committed to learning the fundamentals of milk steaming without a major financial commitment, the Stilosa provides a legitimate training platform. You’ll develop the muscle memory and temperature intuition that transfers to any machine.
Need a deeper product breakdown? Read a related espresso guide.
De’Longhi Stilosa Manual Espresso Machine
- Please refer to user guide or user manual or user guide (provided below in PDF) before first use
- Includes Portafilter, measuring scoop/tamper and two filters for single or double espresso
- Stainless steel boiler is engineered to last long and work for years
Step-by-Step Guide to Steaming Milk for Latte Art
Quick answer: Understanding how to steam milk for latte art starts with the variables that affect cup quality most: consistency, technique, and setup fit. This section gives you a direct framework you can apply immediately, so your next buying decisions produce better flavor clarity and more repeatable espresso at home.
Steaming milk for latte art involves two distinct phases: stretching (incorporating air) and texturing (creating a vortex to integrate bubbles), executed in sequence within 20-30 seconds.
Phase 1: Purging and Preparation (5 seconds)
- Purge the steam wand: Open the steam valve for 2-3 seconds to clear any condensed water
- Position your pitcher: Fill cold milk to just below the spout base (roughly 1/3 full)
- Angle the pitcher: Tilt slightly so the steam wand tip sits just below the milk surface, off-center
- Insert thermometer: Clip it to the pitcher rim if using one
Phase 2: Stretching/Aeration (4-6 seconds)
- Open steam valve fully: Partial opening creates inconsistent results
- Find the sweet spot: Position the tip just below the surface—you should hear a gentle “tsss tsss” sound, not aggressive screaming
- Stretch the milk: Keep the tip at surface level as milk expands, introducing air for 4-6 seconds only
- Monitor volume: Stop aerating when milk volume increases by roughly 25-30%
Phase 3: Texturing/Vortex Creation (15-20 seconds)
- Submerge the tip: Lower the steam wand deeper into the milk (about halfway down)
- Create the vortex: Angle the pitcher so milk rotates in a whirlpool motion—this integrates the air bubbles
- Maintain position: Keep the vortex spinning consistently without reintroducing air (no hissing sound)
- Watch temperature: Remove from steam at 150-155°F, or when the pitcher becomes uncomfortable to hold
Phase 4: Final Polish (10 seconds)
- Purge the wand: Immediately clean the steam wand with a damp cloth and purge again
- Tap the pitcher: Firmly tap the bottom on the counter 2-3 times to collapse any large surface bubbles
- Swirl the milk: Create a whirlpool motion to further integrate the microfoam—it should look glossy and paint-like
- Pour immediately: Microfoam quality degrades within 30-60 seconds as bubbles separate
Common Mistakes to Avoid:
- Over-aerating: More than 6 seconds of stretching creates cappuccino foam, not microfoam
- Poor tip position: Too deep during stretching means no air incorporation; too shallow during texturing reintroduces large bubbles
- Temperature overshoot: Milk above 160°F tastes scalded and loses sweetness
- Weak vortex: Without proper rotation, air bubbles don’t integrate into microfoam
Practice this sequence daily with the same milk type and pitcher until the movements become automatic. Muscle memory matters more than equipment quality when learning to steam milk consistently.
Choosing the Right Milk for Latte Art
Whole dairy milk produces the most reliable microfoam for latte art due to its optimal balance of 3-4% fat and 3.2-3.5% protein, though specific non-dairy alternatives can yield comparable results with adjusted technique.
The science behind milk steaming centers on two components:
Protein creates structure: Milk proteins unfold during heating and trap air bubbles, forming the foam matrix
Fat adds stability: Fat molecules coat the air bubbles, preventing them from collapsing quickly
Conclusion
Mastering milk steaming for latte art requires understanding the science behind microfoam, investing in proper equipment, and practicing the two-phase technique consistently. Start with whole dairy milk and a capable steam wand like the one on the to build fundamental skills before experimenting with non-dairy alternatives.
The difference between barista-quality microfoam and disappointing results comes down to three factors: maintaining the target temperature range of 150-155°F, creating a proper vortex during the texturing phase, and using milk with adequate protein content. These principles remain constant regardless of your equipment investment level.
Practice daily with the same milk type and pitcher size until the stretching and texturing phases become automatic muscle memory. Once you can consistently produce glossy, paint-like microfoam, your latte art journey progresses naturally—the pouring technique builds on the foundation of perfectly steamed milk. For more guidance on espresso fundamentals and equipment selection, explore our comprehensive guides made for home baristas at every skill level.
Frequently Asked Questions
Before You Buy
Narrow the field to 2 to 4 options, compare the practical tradeoffs side by side, then click through to a retailer only after the choice is clear.