

Decision Snapshot
Start With the Short Answer
Channeling in espresso usually comes from uneven puck density, bad headspace, or a grind choice that gives water an easy escape route.
Key Takeaways
- what causes channeling in espresso matters because the cup shows the result long before the puck looks perfect.
- The fastest improvement comes from changing one variable at a time and tasting honestly.
- A clean table or ratio chart beats guessing every day.
- Use our espresso shot guide and our espresso puck prep routine as your supporting references when you need more detail.
Why channeling in espresso matters
channeling in espresso matters because it changes taste, not just the numbers on your scale or timer.
Channeling in espresso usually comes from uneven puck density, bad headspace, or a grind choice that gives water an easy escape route. In our testing, the better answer almost always comes from fixing the main problem before buying another accessory.
One mistake I made early on was buying around spec-sheet wish list instead of the actual drink routine I wanted each morning. This article is built to stop that mistake from happening again.
If you want background after this article, start with our espresso shot guide and our espresso puck prep routine.
Channeling creates sharp, confused shots because part of the puck over-extracts while another part stays underdone.
It can also turn a neat-looking routine into a mess once you use a bottomless portafilter.
Fixing channeling usually improves consistency more than buying another accessory.
A mildly controversial take: most home baristas overvalue visual perfection and undervalue the way the shot actually tastes. Barista Hustle is useful because it keeps the conversation anchored to brewing outcomes, not superstition.
A simple framework that works
The best framework is the one you can repeat without overthinking it.
- Watch the flow pattern and taste together instead of trusting one clue.
- Check distribution, dose fit, and tamp level before touching temperature.
- Move grind only after the puck-prep variables look stable.
- Repeat the same prep routine for three shots before judging the result.
I made the mistake of jumping between internet rules instead of keeping a clean baseline. Once I started writing down what changed in the cup, the problem got much easier to solve.
| Symptom | Likely cause | First fix |
|---|---|---|
| Spraying early | Uneven prep or too fine in patches | Clean up distribution and check dose fit |
| Fast blonding | Water found an easy path | Adjust grind and prep together, one move at a time |
| One-sided flow | Tamp or distribution imbalance | Level the puck and check basket contact |
| Good-looking shot, bad taste | Hidden channeling or stale coffee | Taste first, then inspect prep routine |

Real cup examples that make the lesson stick
channeling in espresso gets easier once you connect the concept to a few recognizable cup outcomes.
If a shot tastes sharp, thin, and disappears in milk, the fix usually lives in extraction structure before you start blaming the beans themselves.
If the cup is heavy but strangely hollow, that often means one part of the recipe moved in the right direction while another stayed stuck. This is why mixed signals in espresso are so common.
If the shot looks fine and still tastes wrong, trust the cup over the visual. Espresso has a talent for looking respectable while brewing badly.
Those examples sound simple, but having them in mind makes troubleshooting much faster when your next bag behaves differently from the last one.
Mistakes to avoid
Most errors around channeling in espresso come from changing too many variables at once or reading the wrong signal.
- Blaming channeling on the machine before checking puck prep
- Using a bottomless portafilter as theater instead of diagnosis
- Assuming a dry-looking puck means the prep was perfect
- Trying to solve everything with tamp pressure alone
If you need another checkpoint, compare your result against our espresso shot guide and our sour espresso troubleshooting guide.

What to test next in your cup
The best way to understand channeling in espresso is to run one clean experiment and actually taste it side by side.
Pull two versions with only one deliberate change: a longer yield, a slightly lower temperature, a different basket dose, or a cleaner puck prep routine. Then write down what changed in body, sweetness, bitterness, and finish.
That notebook habit feels nerdy until you realize how much random thrashing it prevents. The faster ranking posts usually explain the concept. The useful ones help you test it without wasting half a bag of coffee.
If the result still feels murky, stop adding variables and come back to the simplest repeatable version of the shot. That reset habit saves more coffee than another accessory order.
How this changes by setup and roast
What Causes Channeling in Espresso behaves differently depending on the coffee, basket, and drink goal in front of you.
A medium-dark milk-drink recipe rarely wants the same correction as a light roast you are drinking straight. The principle may stay the same, but the visible symptom and the best next move often change.
This is where a lot of search results flatten useful nuance into one universal rule. Espresso almost never behaves that cleanly in real kitchens.
That is why we keep steering readers toward our perfect shot guide and our sour espresso troubleshooting guide for connected context rather than one isolated trick.
Real cup examples that reveal the problem faster
What Causes Channeling in Espresso gets easier once you connect it to taste and texture instead of abstract theory.
If the cup is thin, sharp, and disappears in milk, that points to a very different next test than a heavy shot that tastes dry and flat.
Espresso is full of mixed signals, which is why visual perfection can mislead you. I learned that the hard way after chasing puck appearance instead of listening to the cup.
The practical move is to keep one baseline recipe and compare the result honestly before changing another variable.
What top results often miss
What Causes Channeling in Espresso is usually under-explained by pages that define the concept but stop short of showing what to do next.
Readers do not just need vocabulary. They need a clean sequence for testing, a way to rule out false diagnoses, and a sense of which problems are not actually worth solving with more gear.
That is why we care about routine and use-case framing here. The theory only matters if it helps the next shot taste better.
If you want a direct next step, work through our temperature stability guide with a notebook and one controlled change.
What to test next
What Causes Channeling in Espresso becomes much more useful once you run one disciplined experiment instead of five random tweaks.
Change one variable, pull two confirming shots, and write down what changed in sweetness, bitterness, body, and finish. That notebook habit feels nerdy until you realize how much coffee it saves.
The strongest home barista move is not memorizing more advice. It is learning how to isolate a change cleanly enough that the cup can actually teach you something.
That is the difference between reading espresso content and getting better at espresso.
For current live picks and prices, browse the Espresso Insider product hub.
These active catalog products are the closest useful matches for the gear this article is discussing.

Subminimal Flick WDT Espresso Distribution Tool
The Subminimal Flick WDT (Weiss Distribution Technique) tool reimagines espresso preparation with a focus on safety and user experience. Featuring retractable needles, it eliminates the risk of exposed needles, while…
See Current Offer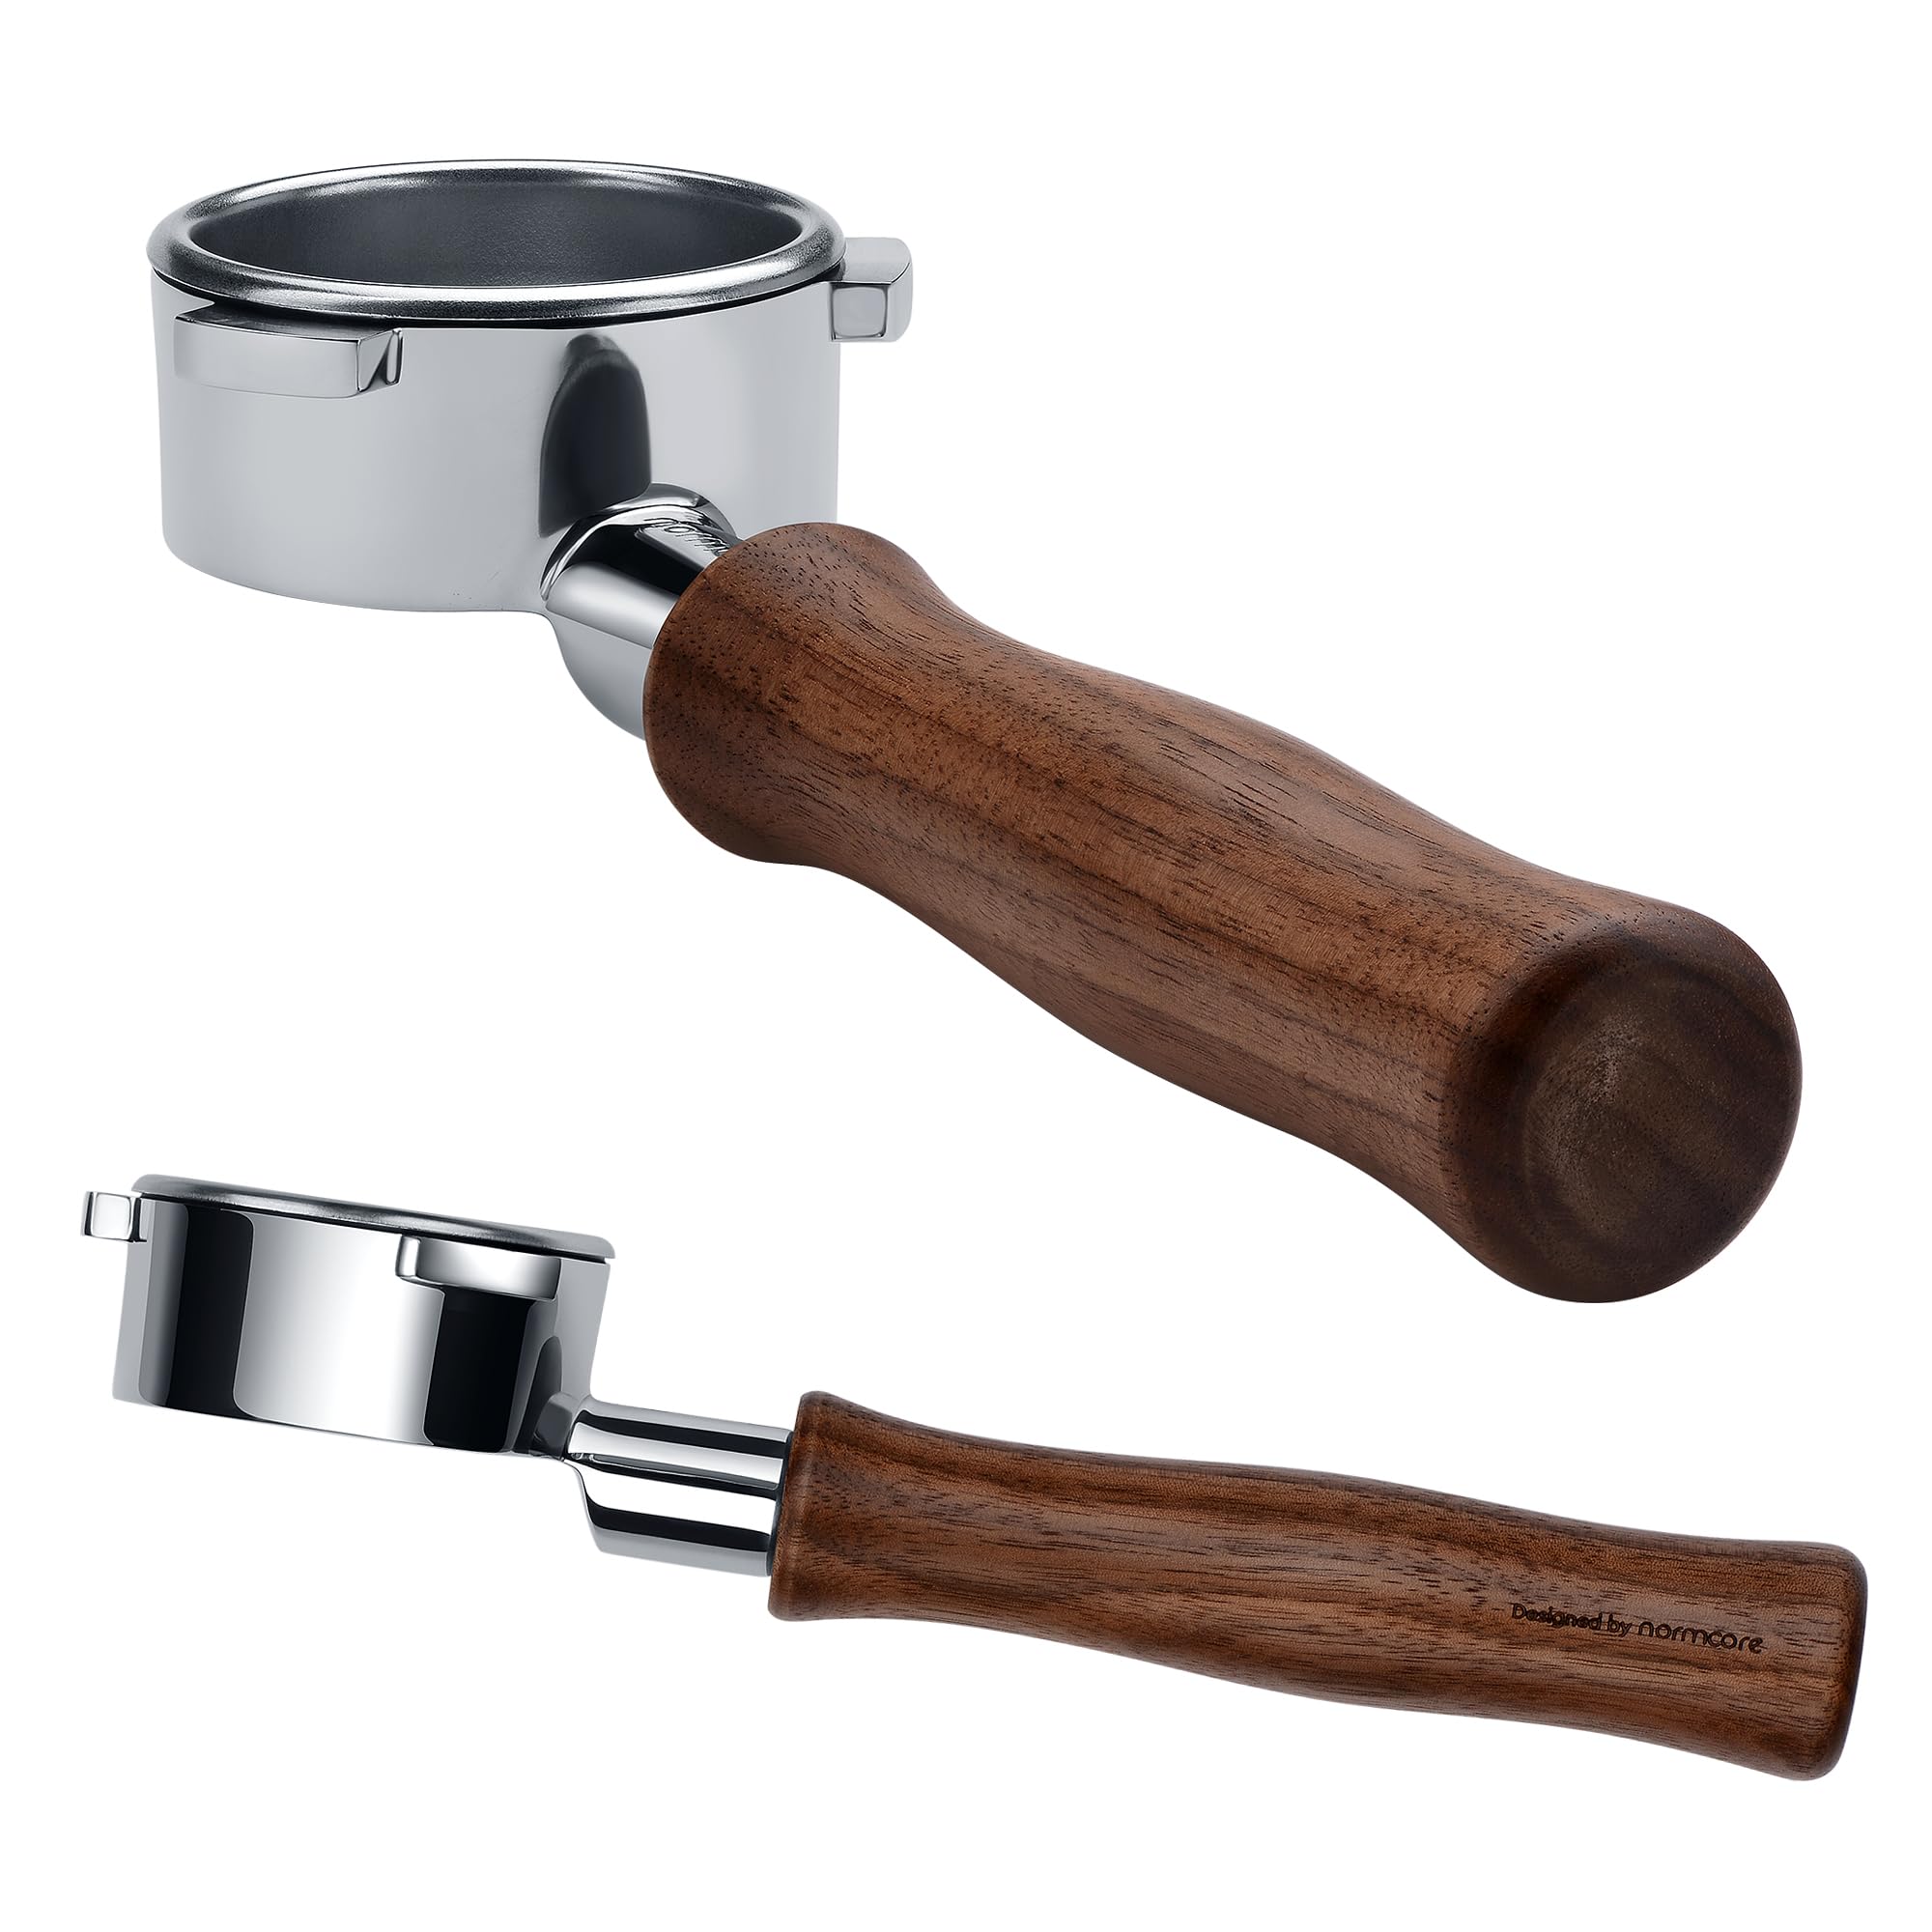
Normcore 54mm Bottomless Portafilter
The Normcore 54mm bottomless portafilter is an essential tool for Breville/Sage espresso machine owners seeking to diagnose and improve their espresso extraction. Constructed from 304 stainless steel and featuring a…
See Current Offer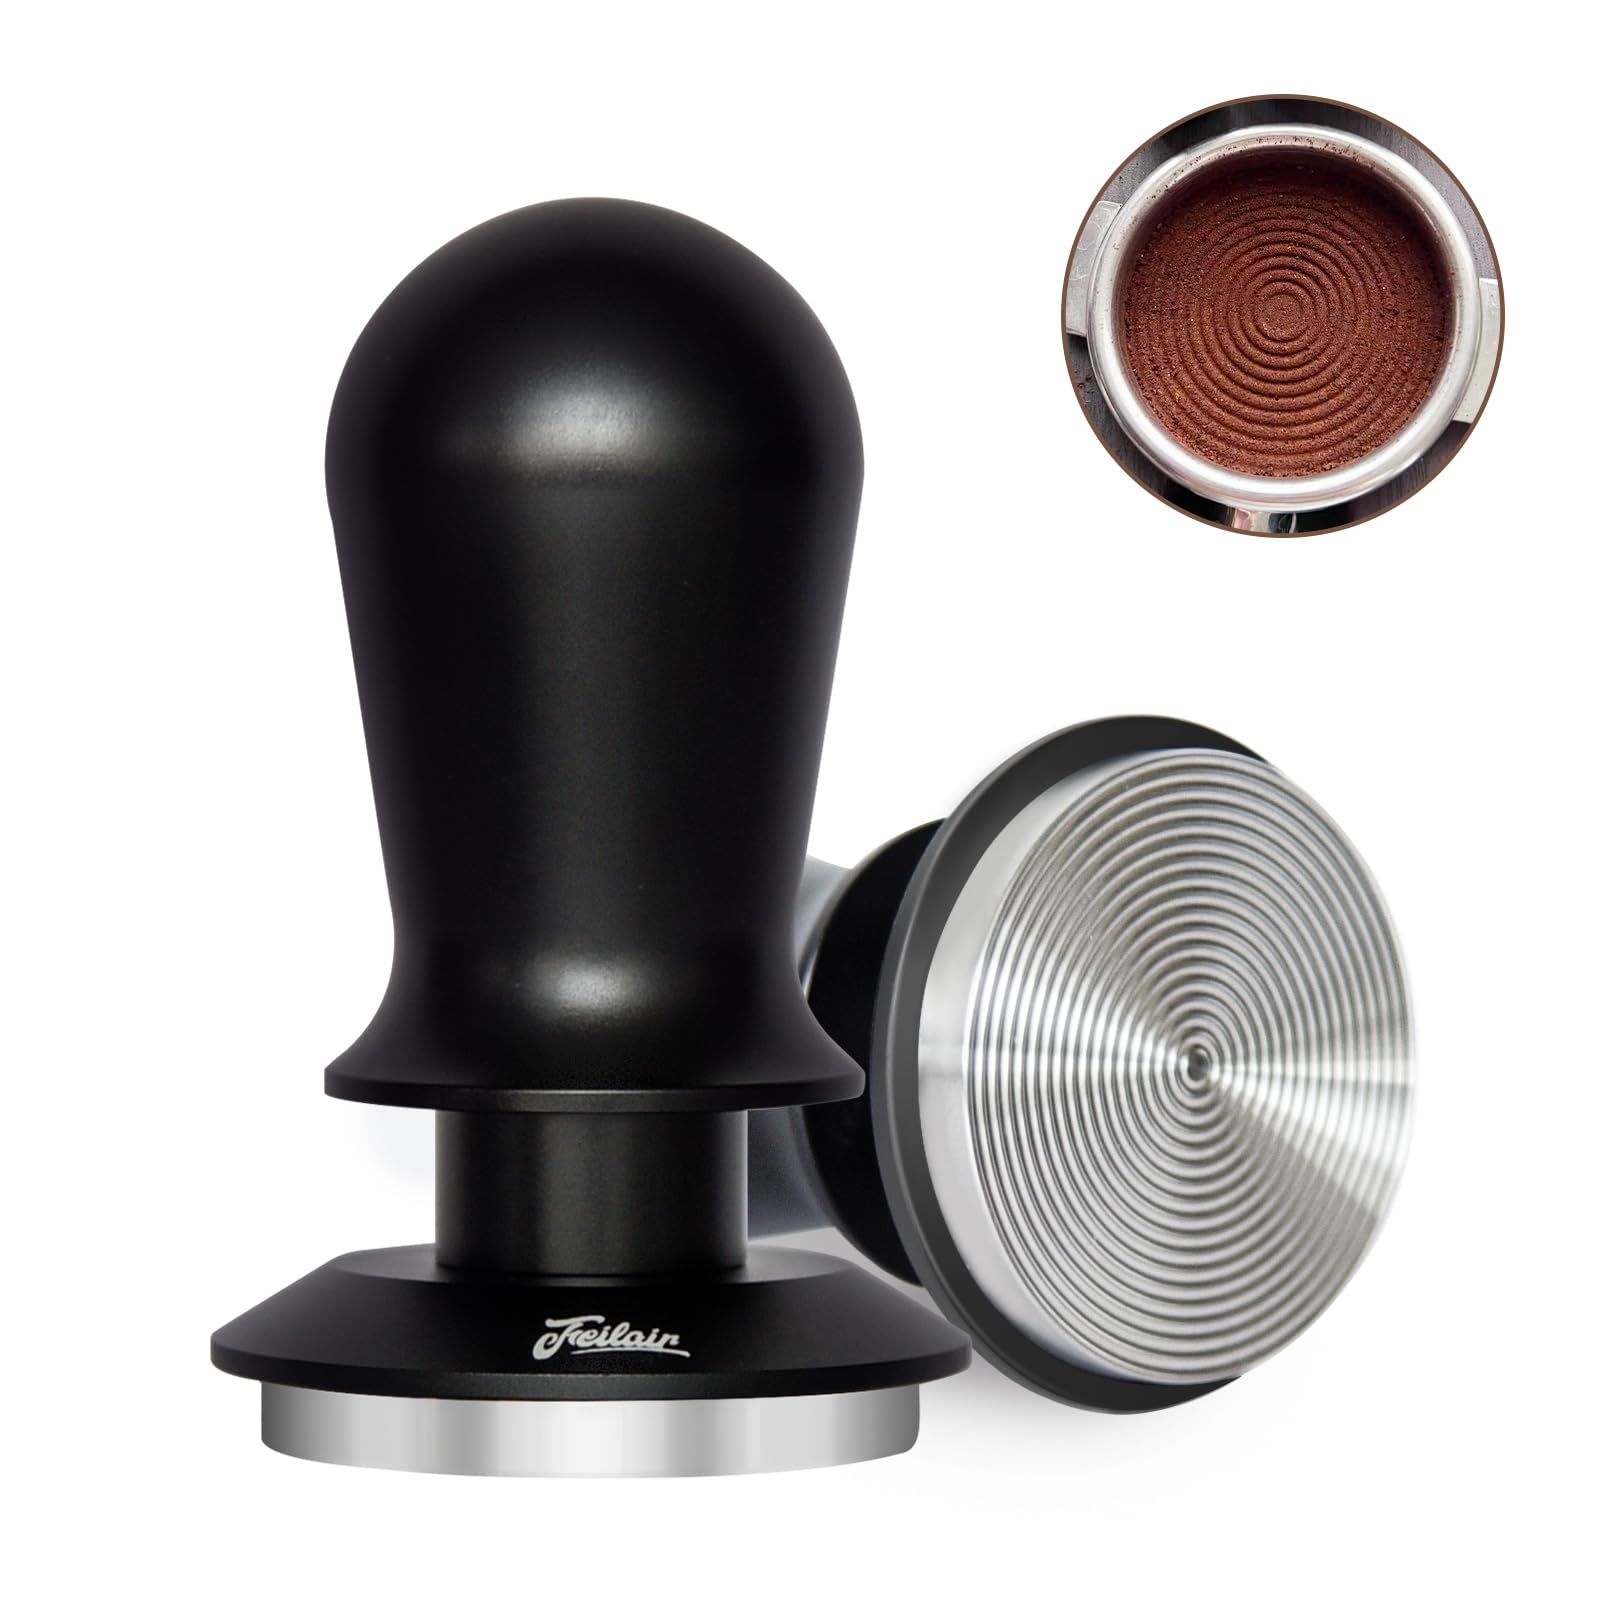
FEILAIR 51mm Calibrated Espresso Tamper
The FEILAIR 51mm calibrated espresso tamper is designed for consistent and precise tamping. Its spring-loaded mechanism delivers a consistent 30lb pressure, indicated by a distinct audible click. The concentric ring…
See Current OfferConclusion
Once channeling in espresso clicks, your espresso gets more repeatable fast.
Use this guide together with our sour espresso troubleshooting guide if you want a deeper next step.
Frequently Asked Questions
Before You Buy
Narrow the field to 2 to 4 options, compare the practical tradeoffs side by side, then click through to a retailer only after the choice is clear.